Strong Customer Authentication (SCA) is a relatively new security requirement that came in into force in Europe during September 2019. In order to comply with the law, a store located in Europe must now accept payments only through an SCA-ready payment method.
Stripe, one of the major players in the online payment business, has been offering a set of modern API that comply with these requirements for a while and these API are now available also to Solidus’ stores via the gem Solidus Stripe.
Currently, Solidus Stripe supports Elements, Payment Intents, and the payment request button API; let’s briefly discuss the features offered by each of them.
Stripe Elements
Elements was the first API provided with the third version (V3) of Stripe JS library that got implemented in the gem. Elements allows stores to build their payment pages by using pre-defined HTML elements packed with JS functionality for a secure and easy payment flow: everything is handled via javascript in the frontend without any need to communicate with the store backend.
If you don’t need SCA, this is by far the simplest and effective solution made available by the gem: setup is very easy and your store will be ready to accept credit card payments in a jiffy.
Stripe Payment Intents
The Payment Intents API is based on Elements, so it maintains the very same checkout UX and the ease of use when it comes to creating HTML elements, but it includes the new SCA features that make it much more complex to implement in regads to interactions with Stripe servers and the app backend:
this API tracks a payment, from initial creation through the entire checkout process, and triggers additional authentication steps when required.
The good news is that the complexity has already been packed inside the code of the gem, so you can relax and concentrate only on the setup procedure described in the README.
Still, you may be interested in a general overview of what happens under the hood when a 3D-Secure verification is required. The video shows the payment process in the browser, a description follows below:
-
the Stripe Elements markup is added to the page by creating the card number, card expire date and card CVC inputs;
-
after the customer enters the payment data and clicks the button, a new payment method is created on Stripe servers for the given credit card number;
-
some data is added to the HTML form elements that will be used later at submission time;
-
a JS asynchronous request sends the payment method token to the backend in order to create a Payment Intents object that, depending on the credit card type may require the customer to pass the additional SCA verification. The payment intent has automatic confirmation method but requires manual capture and can be used later for off session usage (in other words, the customer will be able to reuse the card that they just entered in the system);
-
the frontend receives from the backend the payment intent client secret token to be used for the 3D-Secure verification;
-
a 3D-Secure modal completely managed by Stripe pops up in the browser;
-
after successful code verification with the Stripe API, the store backend tries to create the payment on the DB by using all the data provided by the frontend, including the customer address, credit card information and the Payment Intent ID;
-
if all goes well, the frontend finalizes the payment and completes the form submission, so Solidus can resume the usual checkout flow by taking the customer to the last checkout step (confirmation).
You can take a look at the gem source code, especially the javascript part, if you are interested in getting a deeper understanding of this process.
Be aware of an important caveat: the initial Payment Intents charge is created uncaptured on the payment step; it cannot be captured at that time, otherwise if the customer leaves the checkout before confirming the purchase, it would not be possible to revert the charge. For this reason, capture must happen later in the Solidus backend, after the order is finalized.
Payment Request Button
The payment request button is based on Payment Intents and the official W3C payment request API. Just like Payment Intents, it’s SCA-ready so it can be safely used also on a European eCommerce.
Instead of leveraging the usual HTML elements, the payment is made in a native environment specific for each browser. This payment API is currently the only one from Stripe that supports Apple Pay and Google Pay.
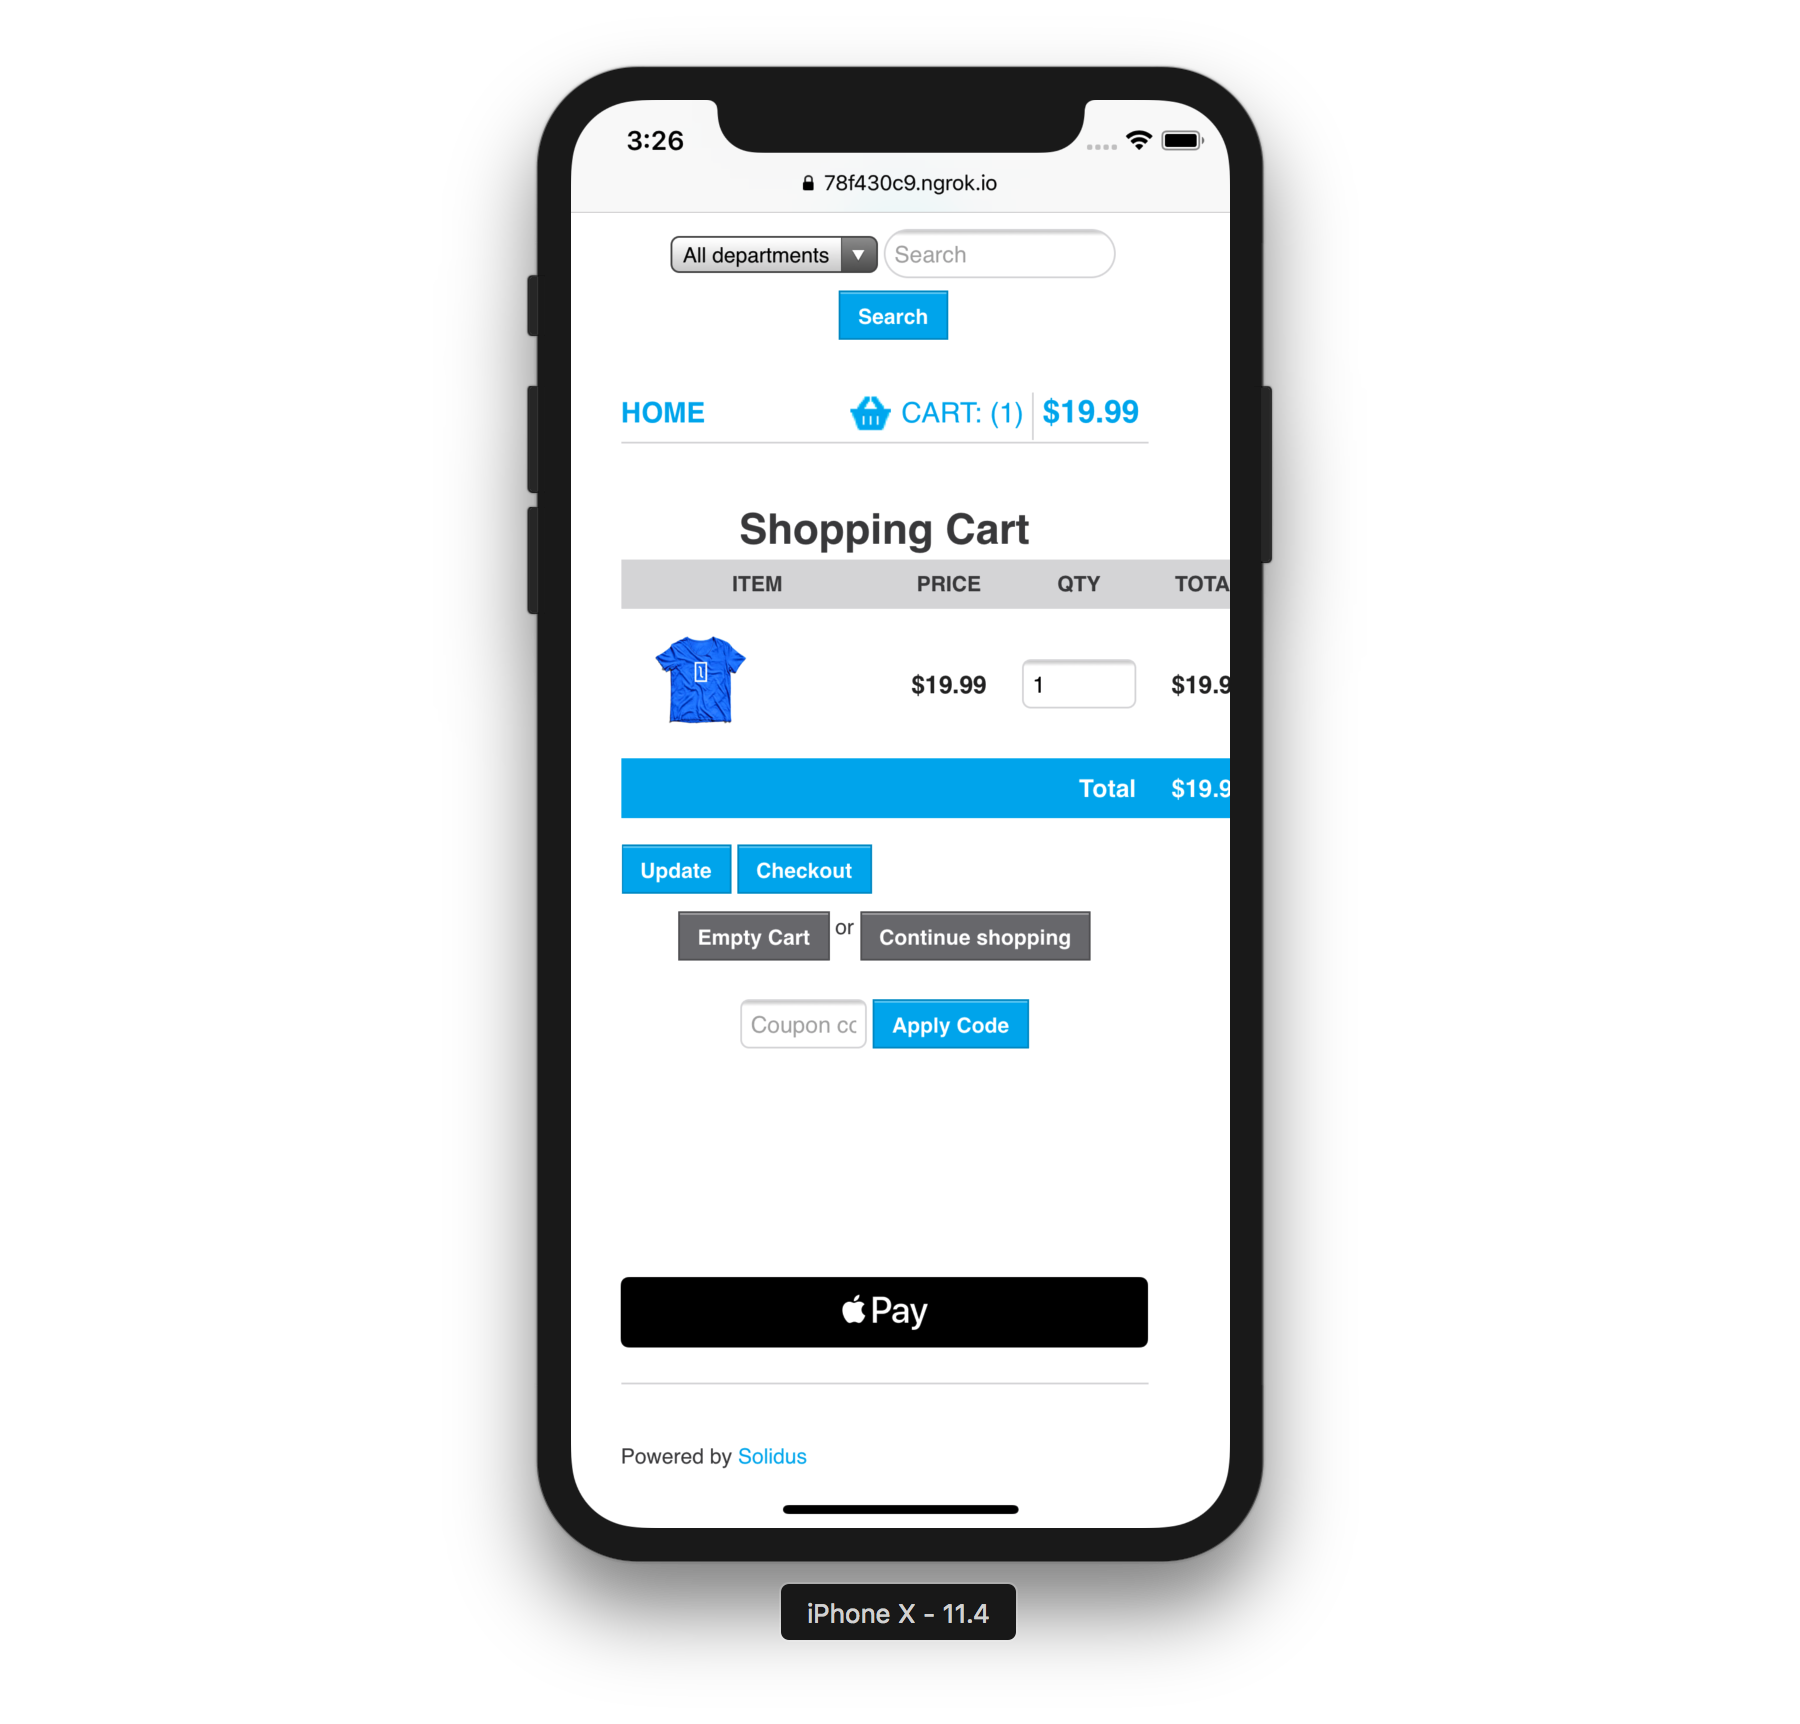
The payment request button can be mounted directly on the cart page, allowing customers to entirely skip the usual Solidus checkout process. This makes the guest checkout easier, faster and more convenient, increasing conversions.
The most notable requirement for the button to work is that the store must be on HTTPS, but setting up Apple Pay requires the extra step of creating a verification file specific for the store domain and make it available at a specific URL. Of course, more details can be found on the gem README and on Stripe documentation.
Here’s a video demonstrating the guest checkout with the payment button on the cart page:
When the customer clicks the button, the browser dialog window pops up requesting them to choose the shipping address among the ones saved in the browser, or enter a new one. After that, all the available shipping methods with their costs are retrieved from the backend and the customer can pick their preference.
The customer must have at least one credit card registered in their browser, failing that the button will not show. If more than one card exists, the customer will be able to choose among all of them.

Customizations
Customization is done by following the standard Rails/Solidus procedures when it comes to ruby code (Module#prepend and Deface are your friends) while the JS can be customized easily by overriding the existing payment method prototypes.
One frequent customization may consist in overriding the default locale for Stripe Elements. If you want to switch from English to the Spanish language, you can simply redefine the method elementsBaseOptions on the prototype of the constructor SolidusStripe.Payment:
SolidusStripe.Payment.prototype.elementsBaseOptions = function () {
  return {
    locale: 'es'
  };
Some level of visual customization can be achieved directly with CSS, but sometimes, when using Elements and Payment Intents, your best option may be to override the method baseStyle on SolidusStripe.Elements.prototype.
Enough talk, I hope this post helped in presenting all the possible payment flows enabled by Solidus Stripe, it’s now your turn to pick the one more suitable for your store… happy coding!


