The Shopify ecosystem features a plethora of services and frameworks designed to help developers launch their own apps, whether they’re custom apps only meant to be installed on a specific store or public apps that will be listed on the Shopify app store.
Among these tools is Gadget, claiming to be “the fastest way to build and run web apps.”
Gadget wants to be your one-stop shop for all of your full stack app development needs by providing a platform to handle all of the infrastructure needed to build and deploy an app.
At its core, it offers a managed PostgreSQL database and auto-generates an API package, complete with TypeScript support and React client integration. Developers can write server-side JavaScript code that runs on a serverless Node.js platform powered by Fastify, while the frontend development is simplified with a pre-configured React scaffold powered by Vite.
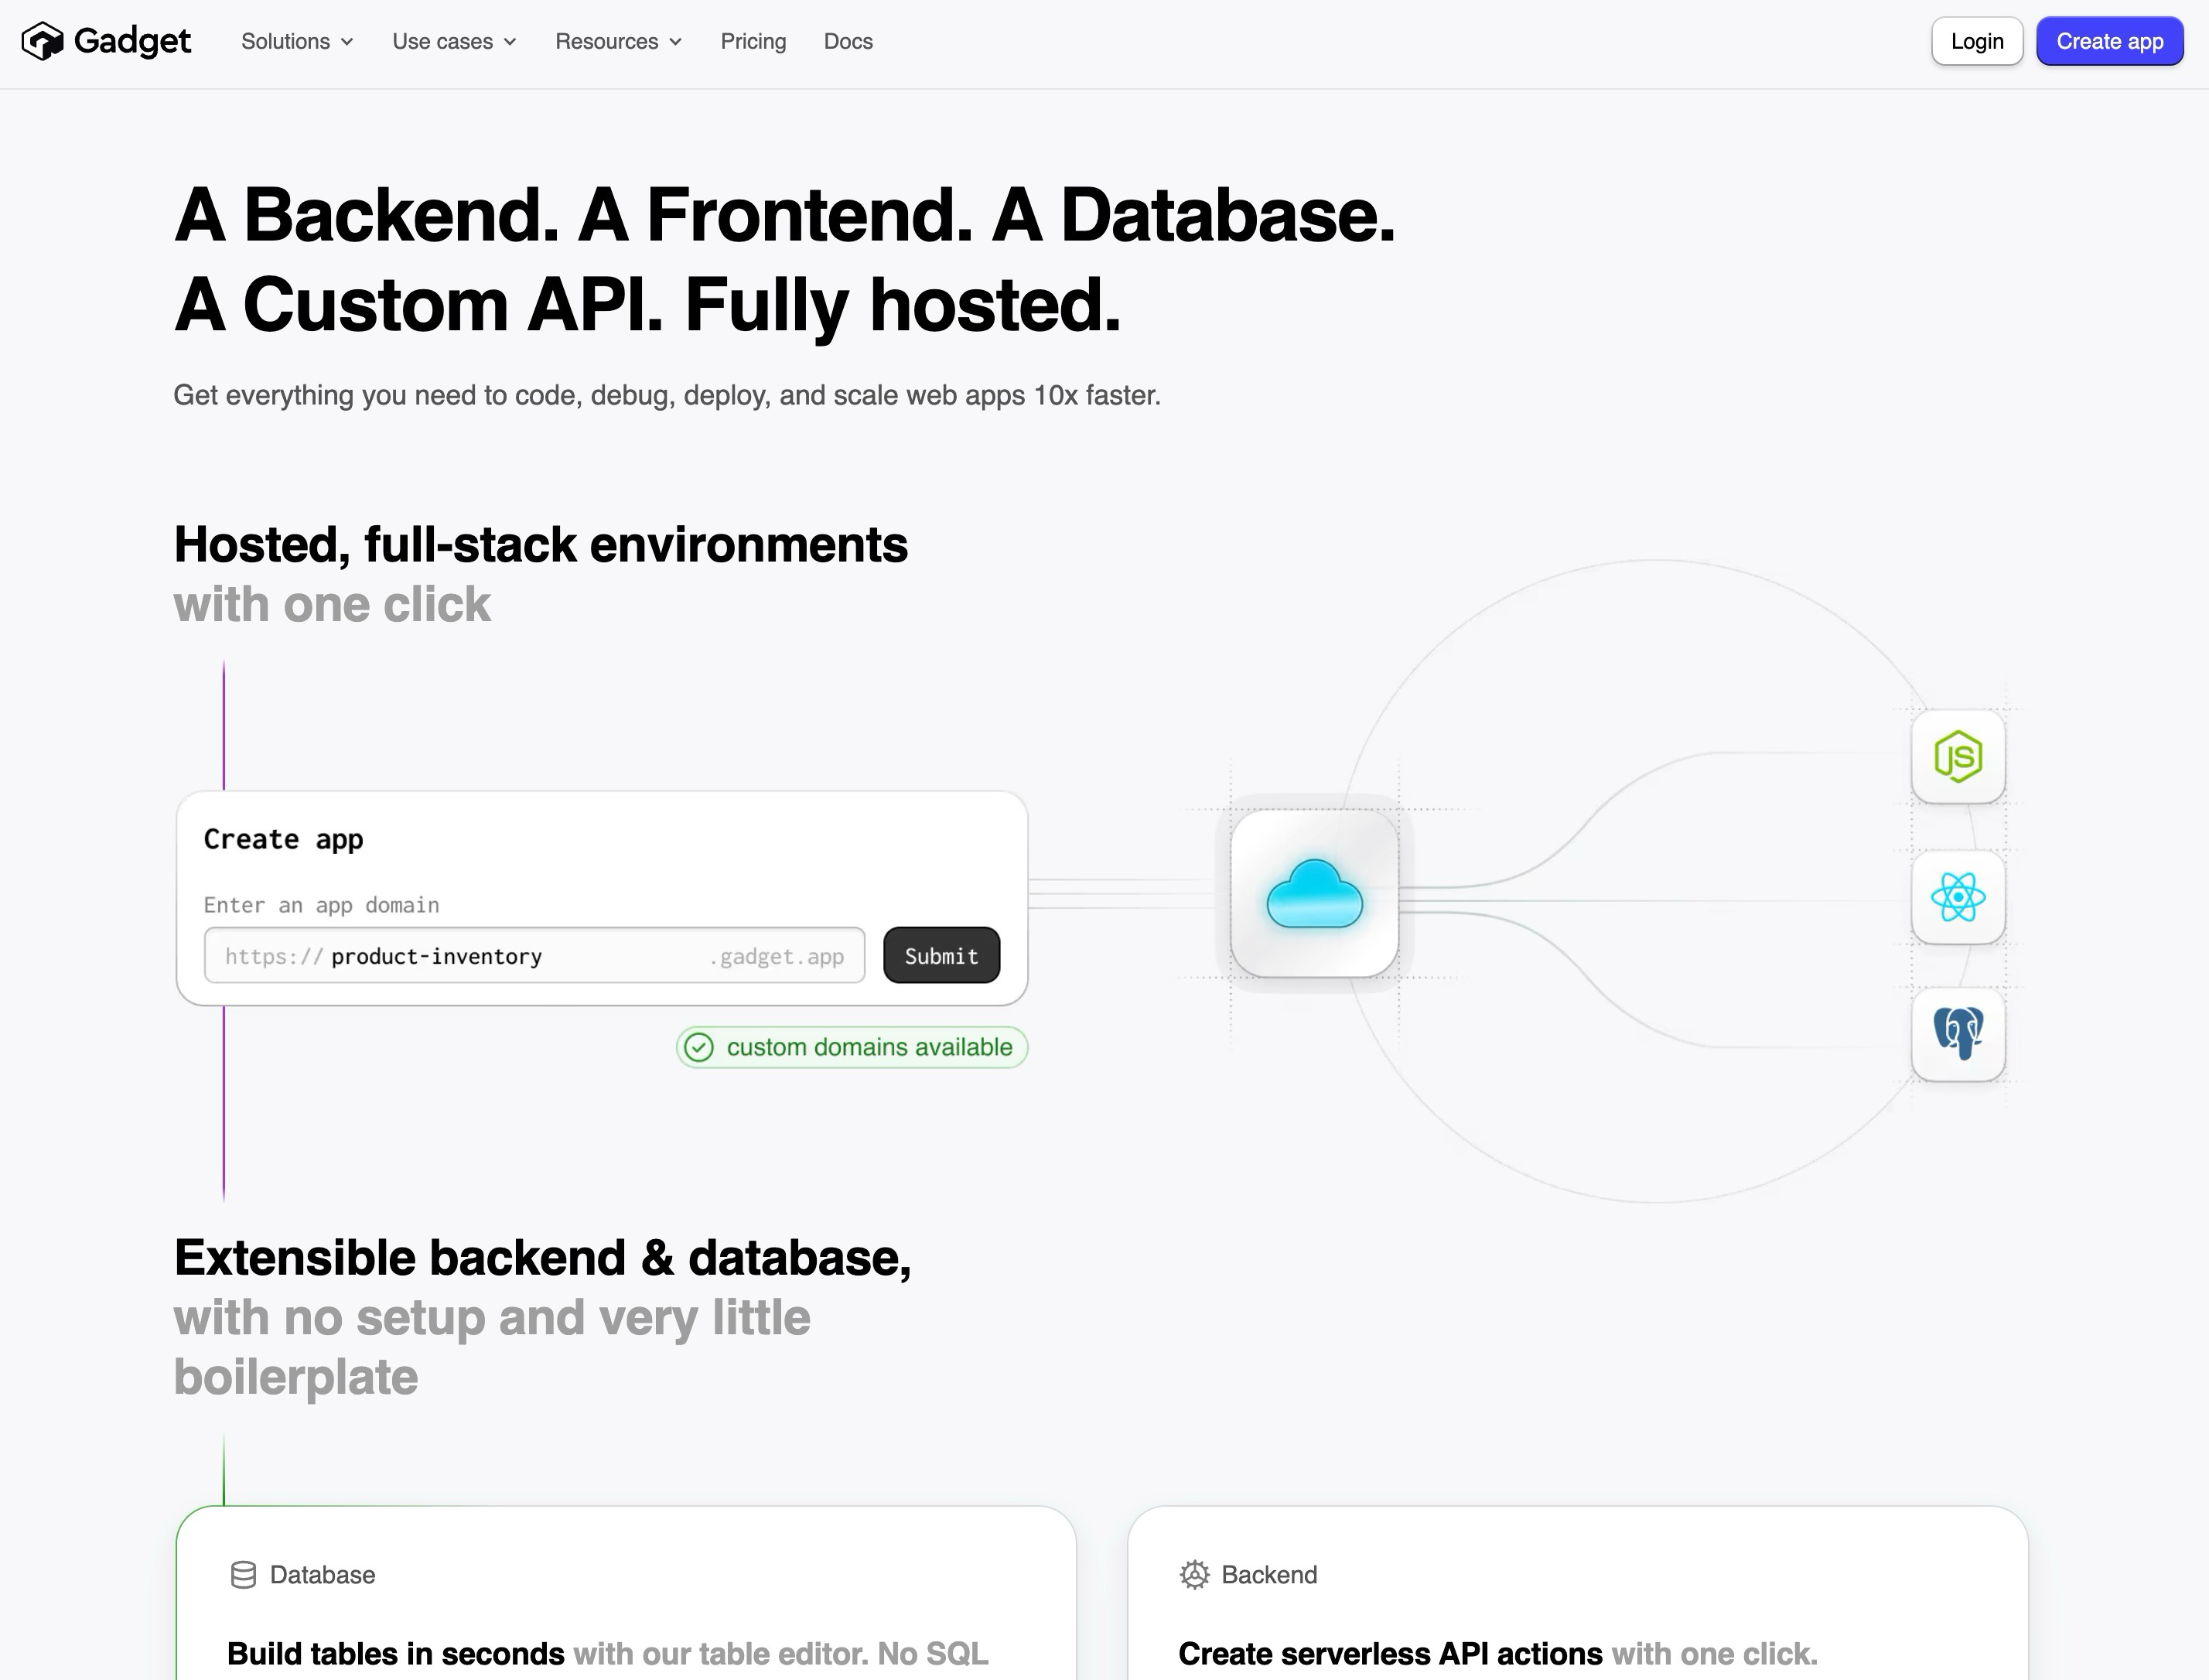
Gadget apps are always live from the moment they are created, and development environments can be promoted to production with a couple of clicks. On top of this, it offers an Integrated Development Environment (IDE) to manage both code and data in a unified location.
While Gadget is now a tool for building any sort of Web app, it was originally born to accelerate the development of Shopify apps. The Shopify integration provided by Gadget streamlines a lot of boilerplate work by offering:
- Data models for all your Shopify objects that you can augment with new attributes, stored on Shopify as custom metafields.
- Webhook subscriptions for object creation, update and deletion.
- So-called actions which allow you to run custom logic to keep Gadget in sync with your Shopify instance.
Gadget also publishes a TypeScript API that you can use to manage your custom data models. As an added bonus, this package is then made available through a registry, so it can be integrated in your Shopify storefront or any other JavaScript application.
Today, we’re going to take Gadget for a spin by using it to build a simple custom app that records the history of price changes for our Shopify products.
Building Our Sample Gadget App
When creating a new app, we suggest starting with an Empty React embedded app. Gadget also offers some pre-built app templates, but these don’t always work out of the box unfotunately, making for a subpar development experience.
Our Gadget app will need to read productVariant objects, as that’s where Shopify stores the variant price, so we need to select the Product variant scope when creating the app:
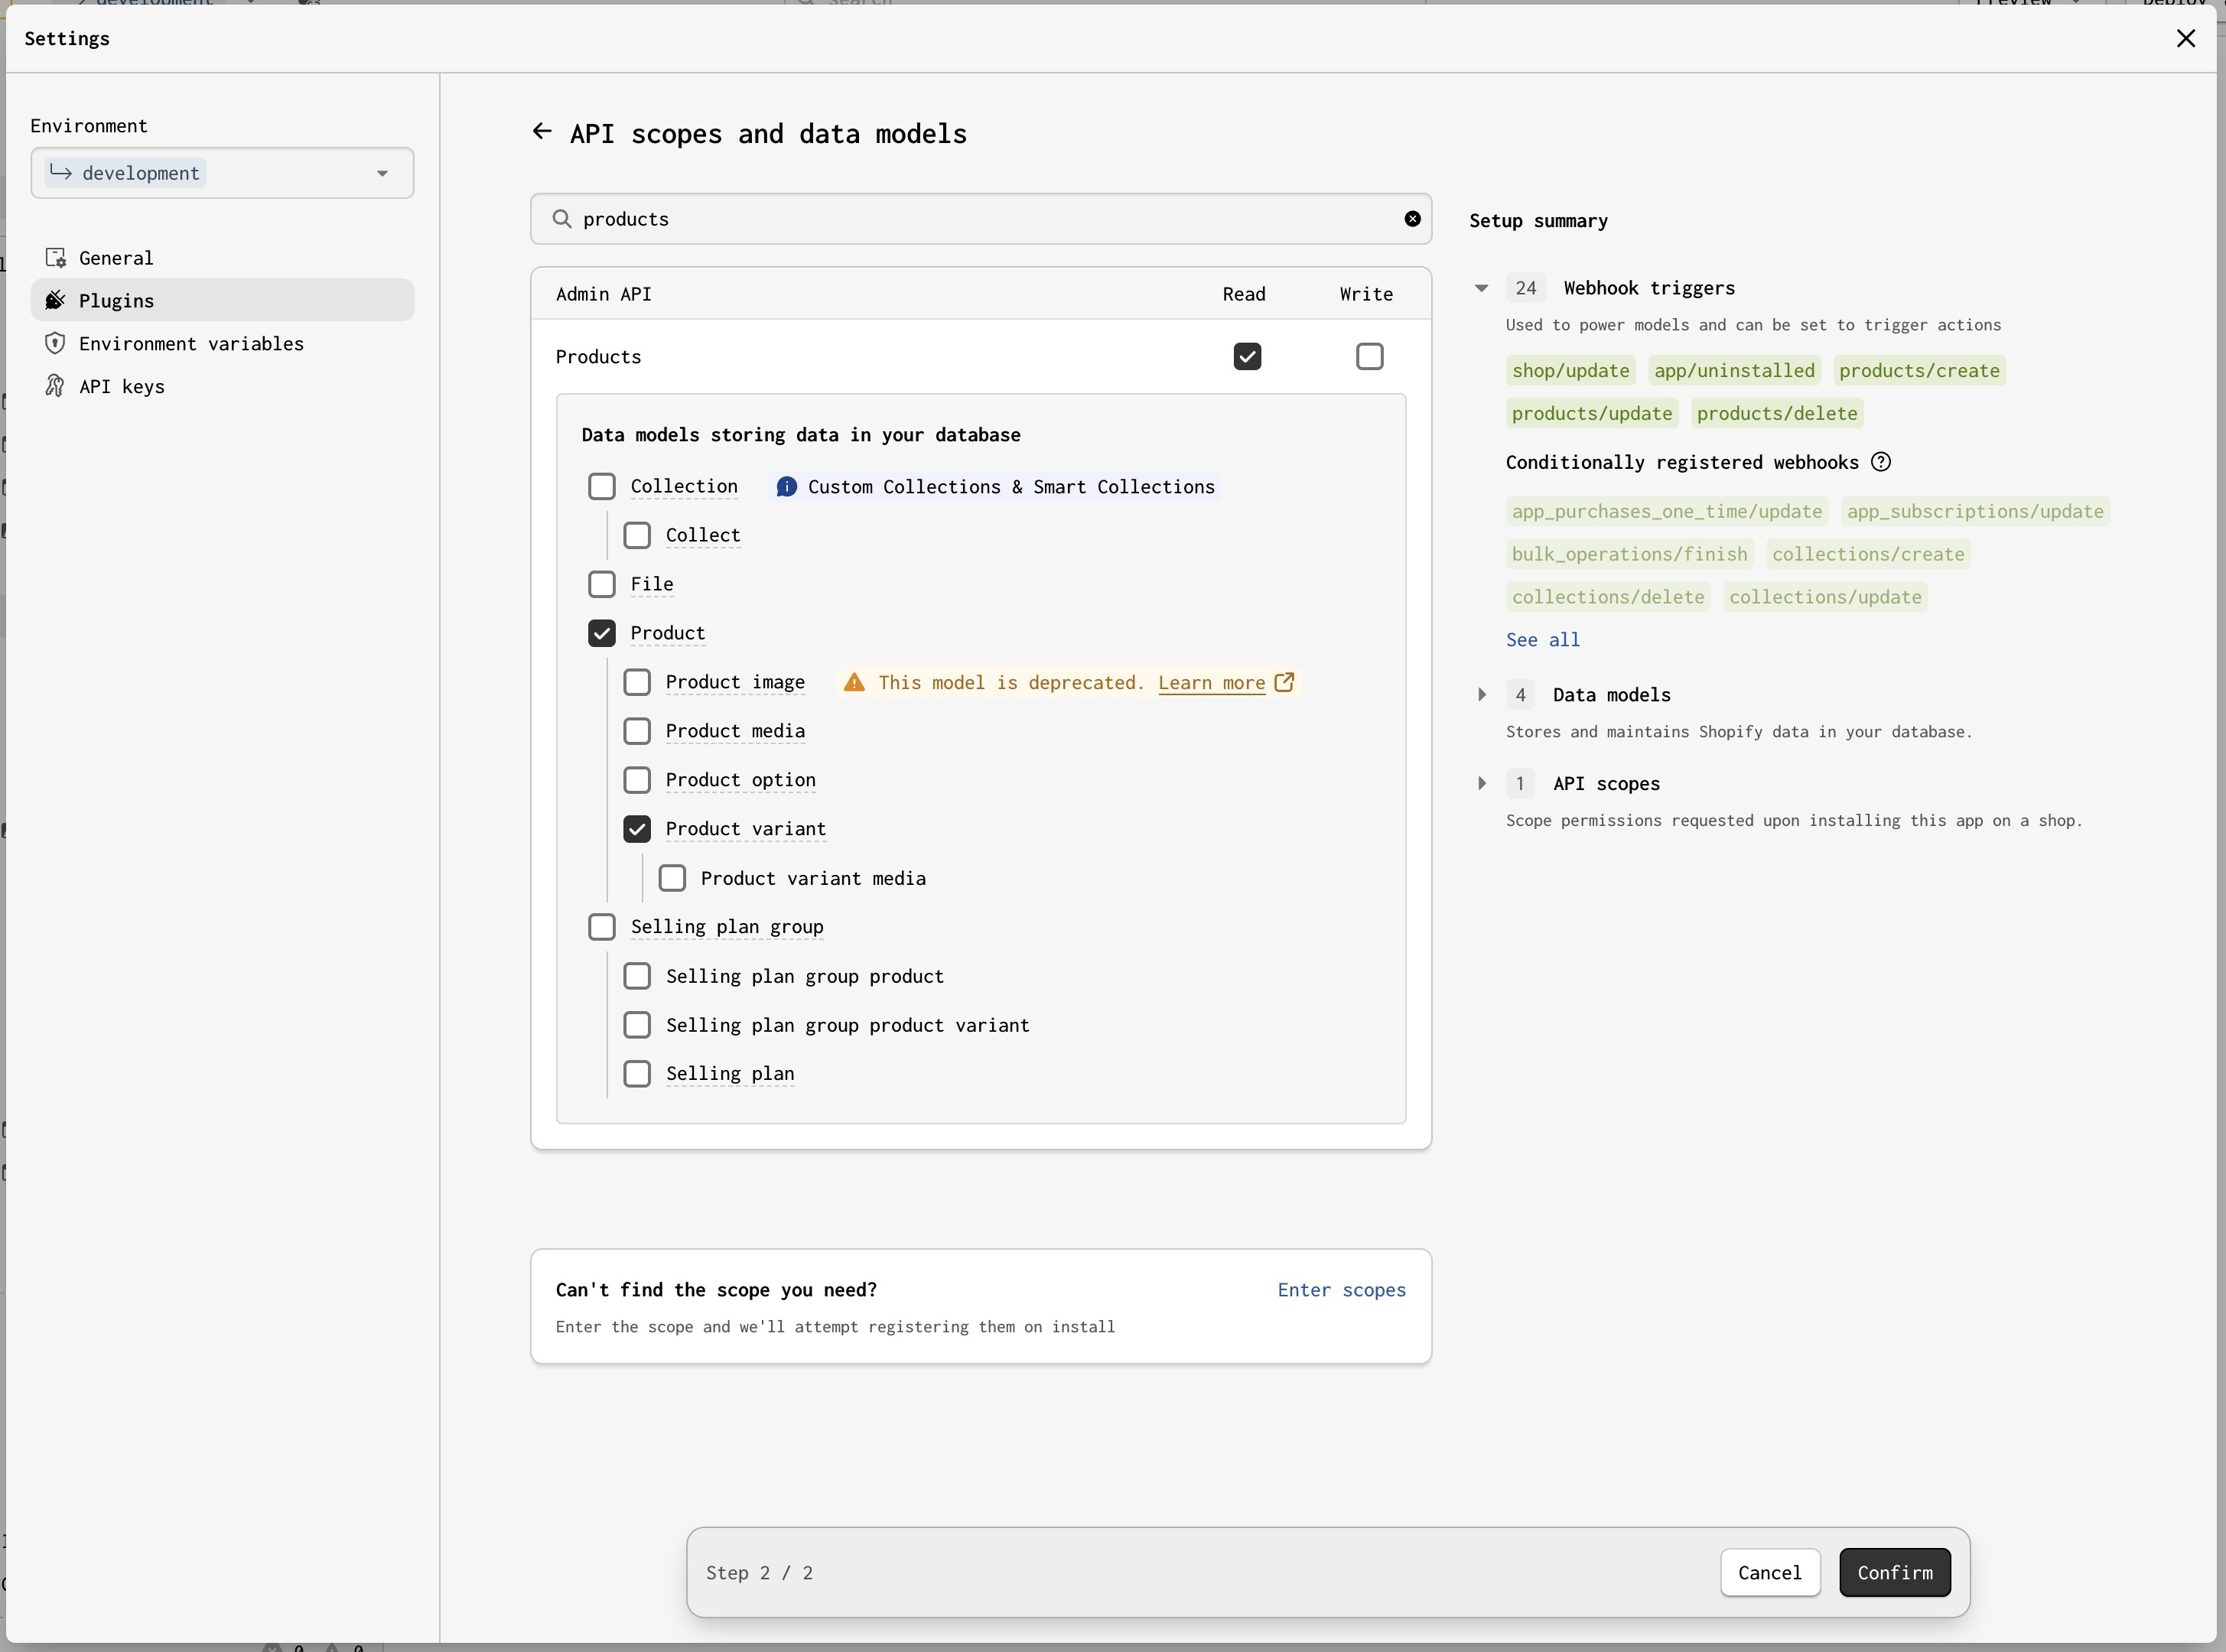
At this point, can install the app in our Shopify store. To do this, we need to:
- Create a Shopify app from the Shopify Partner Portal.
- Copy the Shopify app’s Client ID (the app identifier) and Client Secret and plug them into Gadget’s configuration panel for our Gadget app.
- Copy the URLs generated by Gadget and paste them in our Shopify app’s configuration panel.
- Go back to the Shopify app overview and select a store where we want to install the app.
- Grant our app the required permissions in the dialog that pops up.
If all went well, we should now be able to see the default Gadget app UI in our Shopify store’s admin panel.
Syncing Data Between Gadget and Shopify
To experience a bit of Gadget’s magic, we can check the Installs tab in the Gadget sidebar and start a Sync for the store we just installed our app in. This will sync our Gadget database with our Shopify store.

To explore our data, we can head over to the shopifyProduct model and check out its data view.
The data view is one of the highlights of Gadget: without Gadget, we’d have to make GraphQL API calls to be able to see the data. Being able to quickly see our Shopify data in a tabular form feels like magic.
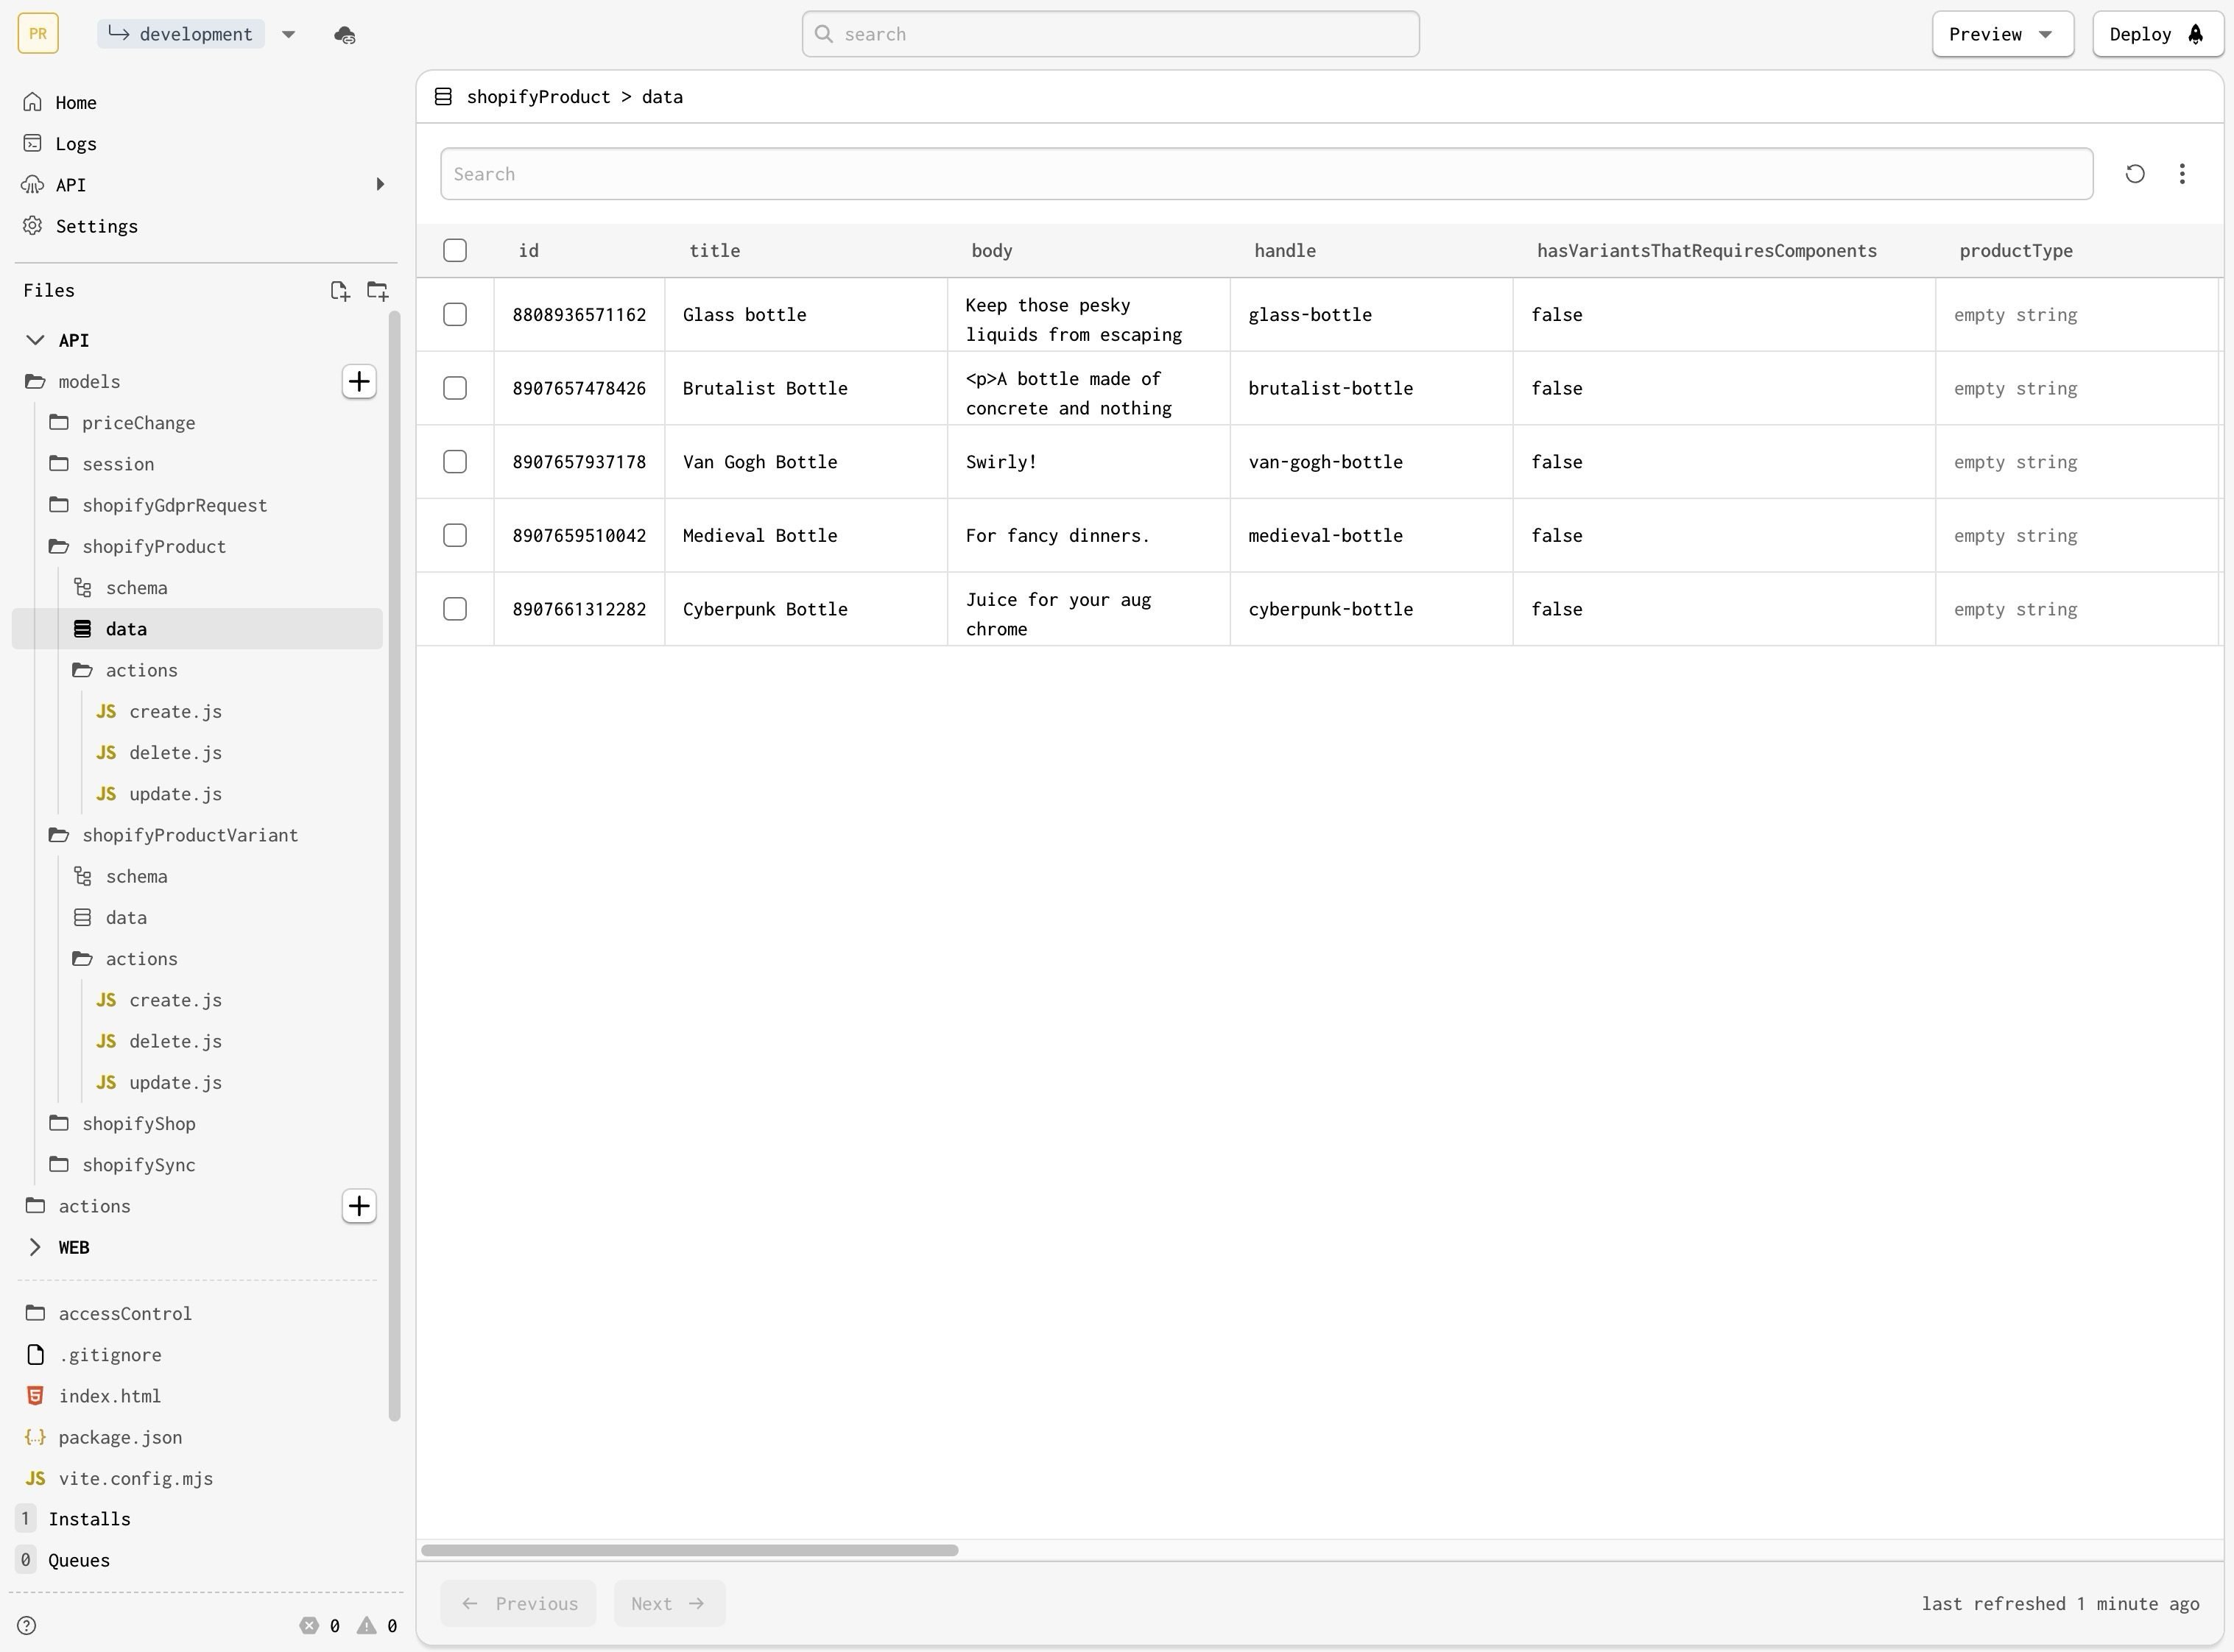
Furthermore, Gadget automatically creates webhook subscriptions for every accessible Shopify model, and by default, reacts to every change in the Shopify stores by ingesting changes: object creations, updates deletions are synced in near-real-time with Gadget’s database. If we attempt to edit a product, we should be able to see the changes shortly thereafter in the corresponding data view.
Extending Our Gadget App with Custom Functionality
The simple app we're building just needs to record the history of prices set for our products. To do that, we need to store this data somewhere.
One way to do this would be to add a metafield to our variants. However, reading and writing the metafield would still requires going through the good old Shopify GraphQL queries and mutations, which requires a lot of boilerplate code. This is an annoying limitation of Gadget’s operating model.
Instead, let’s create a new priceChange model via the sidebar. Given we don't need to run calculations or any fancy analyses, we can structure the price field as a string, just as it is presented in the productVariant model.
We also want to correctly model the relationship between the productVariant model and the priceChange model: each productVariant should have multiple priceChange records. Setting this up via the Gadget UI is a breeze and very intuitive:
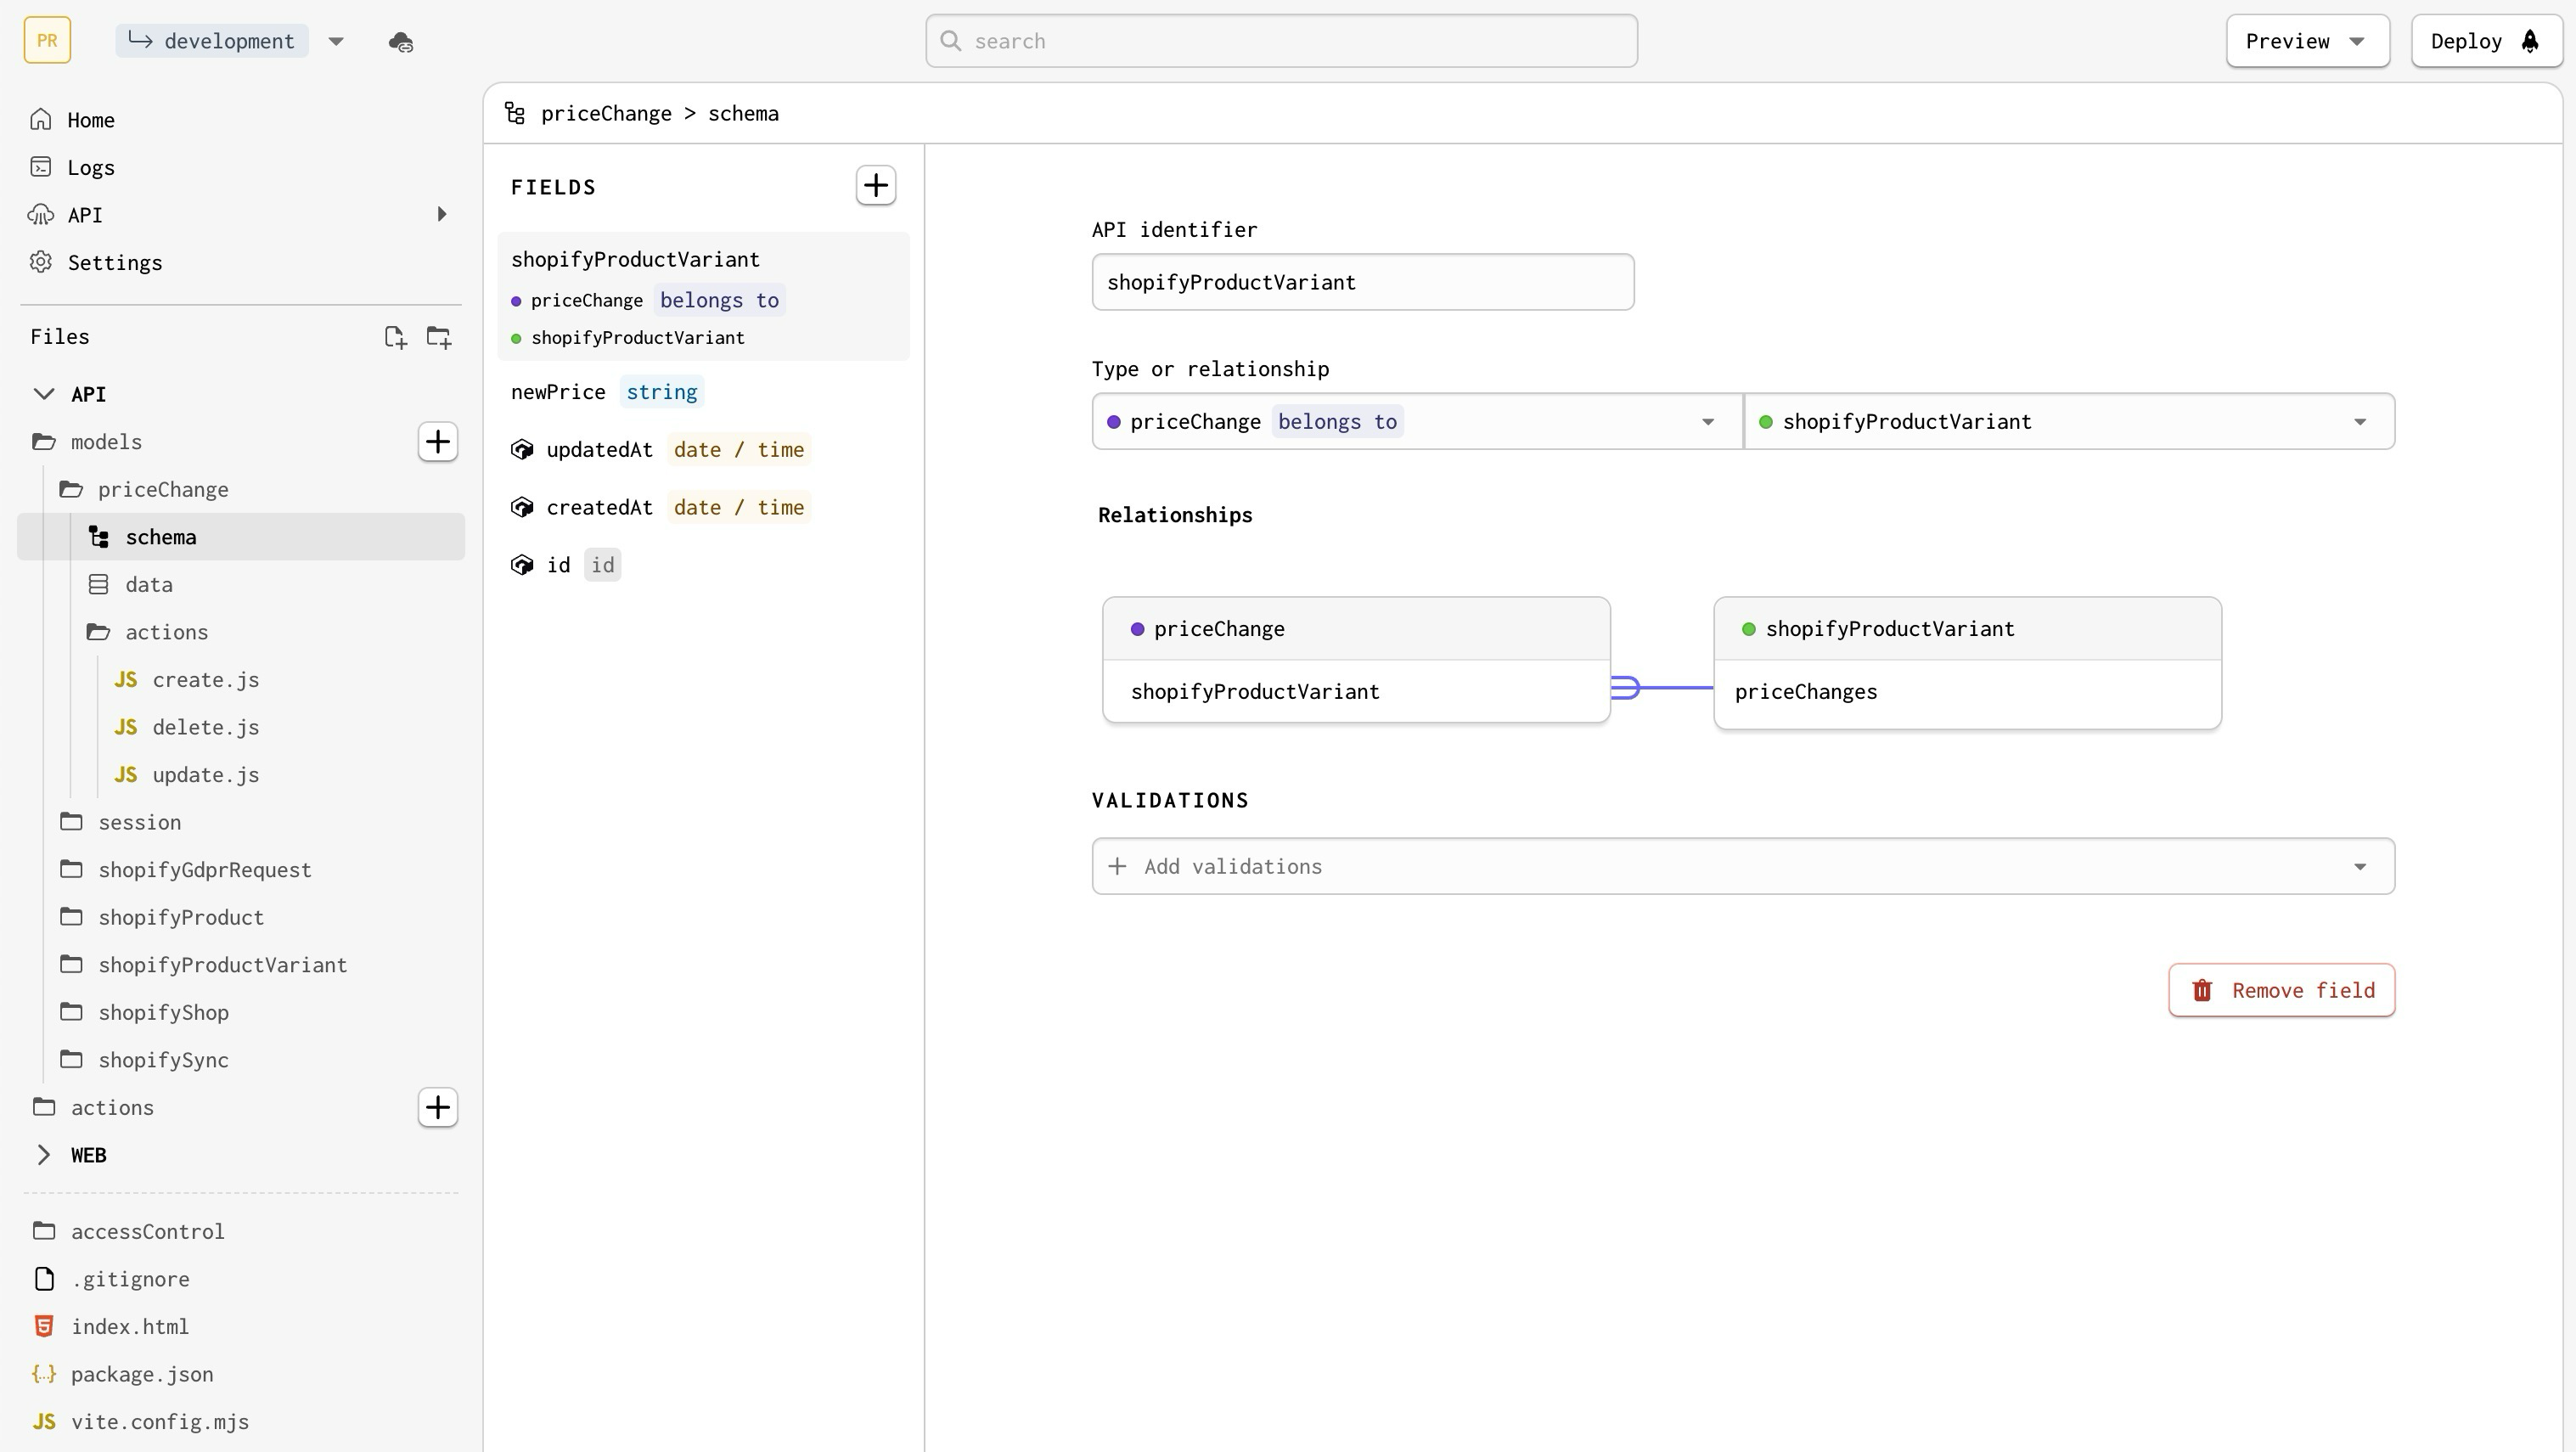
Finally, we need to actually create a priceChange record on every price change. In order to do that, we can edit the update action for the shopifyProductVariant model, which governs what happens when variants are updated:
// api/models/shopifyProductVariant/actions/update.js

export async function onSuccess({ params, record, logger, api, connections }) {
  const newPrice = params.shopifyProductVariant.price;

  if (newPrice != api.shopifyProductVariant.findOne(record.id).price) {
    api.priceChange.create({ newPrice, shopifyProductVariant: { _link: params.shopifyProductVariant.id } });
  }
};
With all of this in place, we can then test it by editing a product price on our store and then heading to the priceChange data view to verify the new addition:

Taking It Further
Consuming the API built on the Gadget backend from any JavaScript or TypeScript application is as easy as installing an NPM package hosted directly in the Gadget registry, or including a minified script in your already existing web application. The API is kept in sync and documented automatically for you by the Gadget platform, which makes it a breeze to work with.
This would allow us, for instance, to read the record of price changes in our Shopify theme in order to show them to the customer (something that may be useful for compliance with the European Omnibus directive).
Is Gadget Right For Your Shopify Customizations?
The answer is “it depends.”
If your team is already familiar with Gadget’s underlying technologies and ecosystem, picking up Gadget and feeling the magic of the robust webhook management and data synchronization is a huge productivity boost, greatly reducing time-to-market for the applications you’ll be building.
However, if your Shopify application needs to deploy a checkout extension, a Shopify Function, or some other feature that’s not directly integrated in the app codebase, you can’t just use the Gadget UI. Instead, you’ll need to clone the code locally via the ggt command line tool, and then rely on the Shopify CLI to complete these tasks. While this adds some friction, it also allows you to use your preferred tools to work on the codebase, and ggt will still keep your data models in bi-directional sync between Gadget and your codebase.
Developers evaluating Gadget should also be mindful of platform lock-in: the platform takes over pretty much your entire custom app infrastructure, forcing you to play by their technical and commercial rules. If you ever need to migrate off of Gadget, the price to pay may be significant.
In conclusion, for teams prioritizing rapid Shopify app development over platform independence, Gadget offers a compelling and solid foundation to build upon. If, on the other hand, you value owning your infrastructure and want full control over your development environment, you’re probably better off developing your app from scratch.

