The Shopify POS suite is a key component of Shopify’s Unified Commerce approach, enabling merchants to create rich omnichannel experiences that bridge their offline and online shopping channels. Initially launched in 2013, Shopify has continued to improve its POS hardware over the years, making it more powerful and expanding availability to more countries.
What sets Shopify’s POS lineup apart from the competition is the flexibility merchants have in designing their POS setup, with various card readers for different environments and the ability to connect a cash register, barcode scanner, and receipt printer optionally.
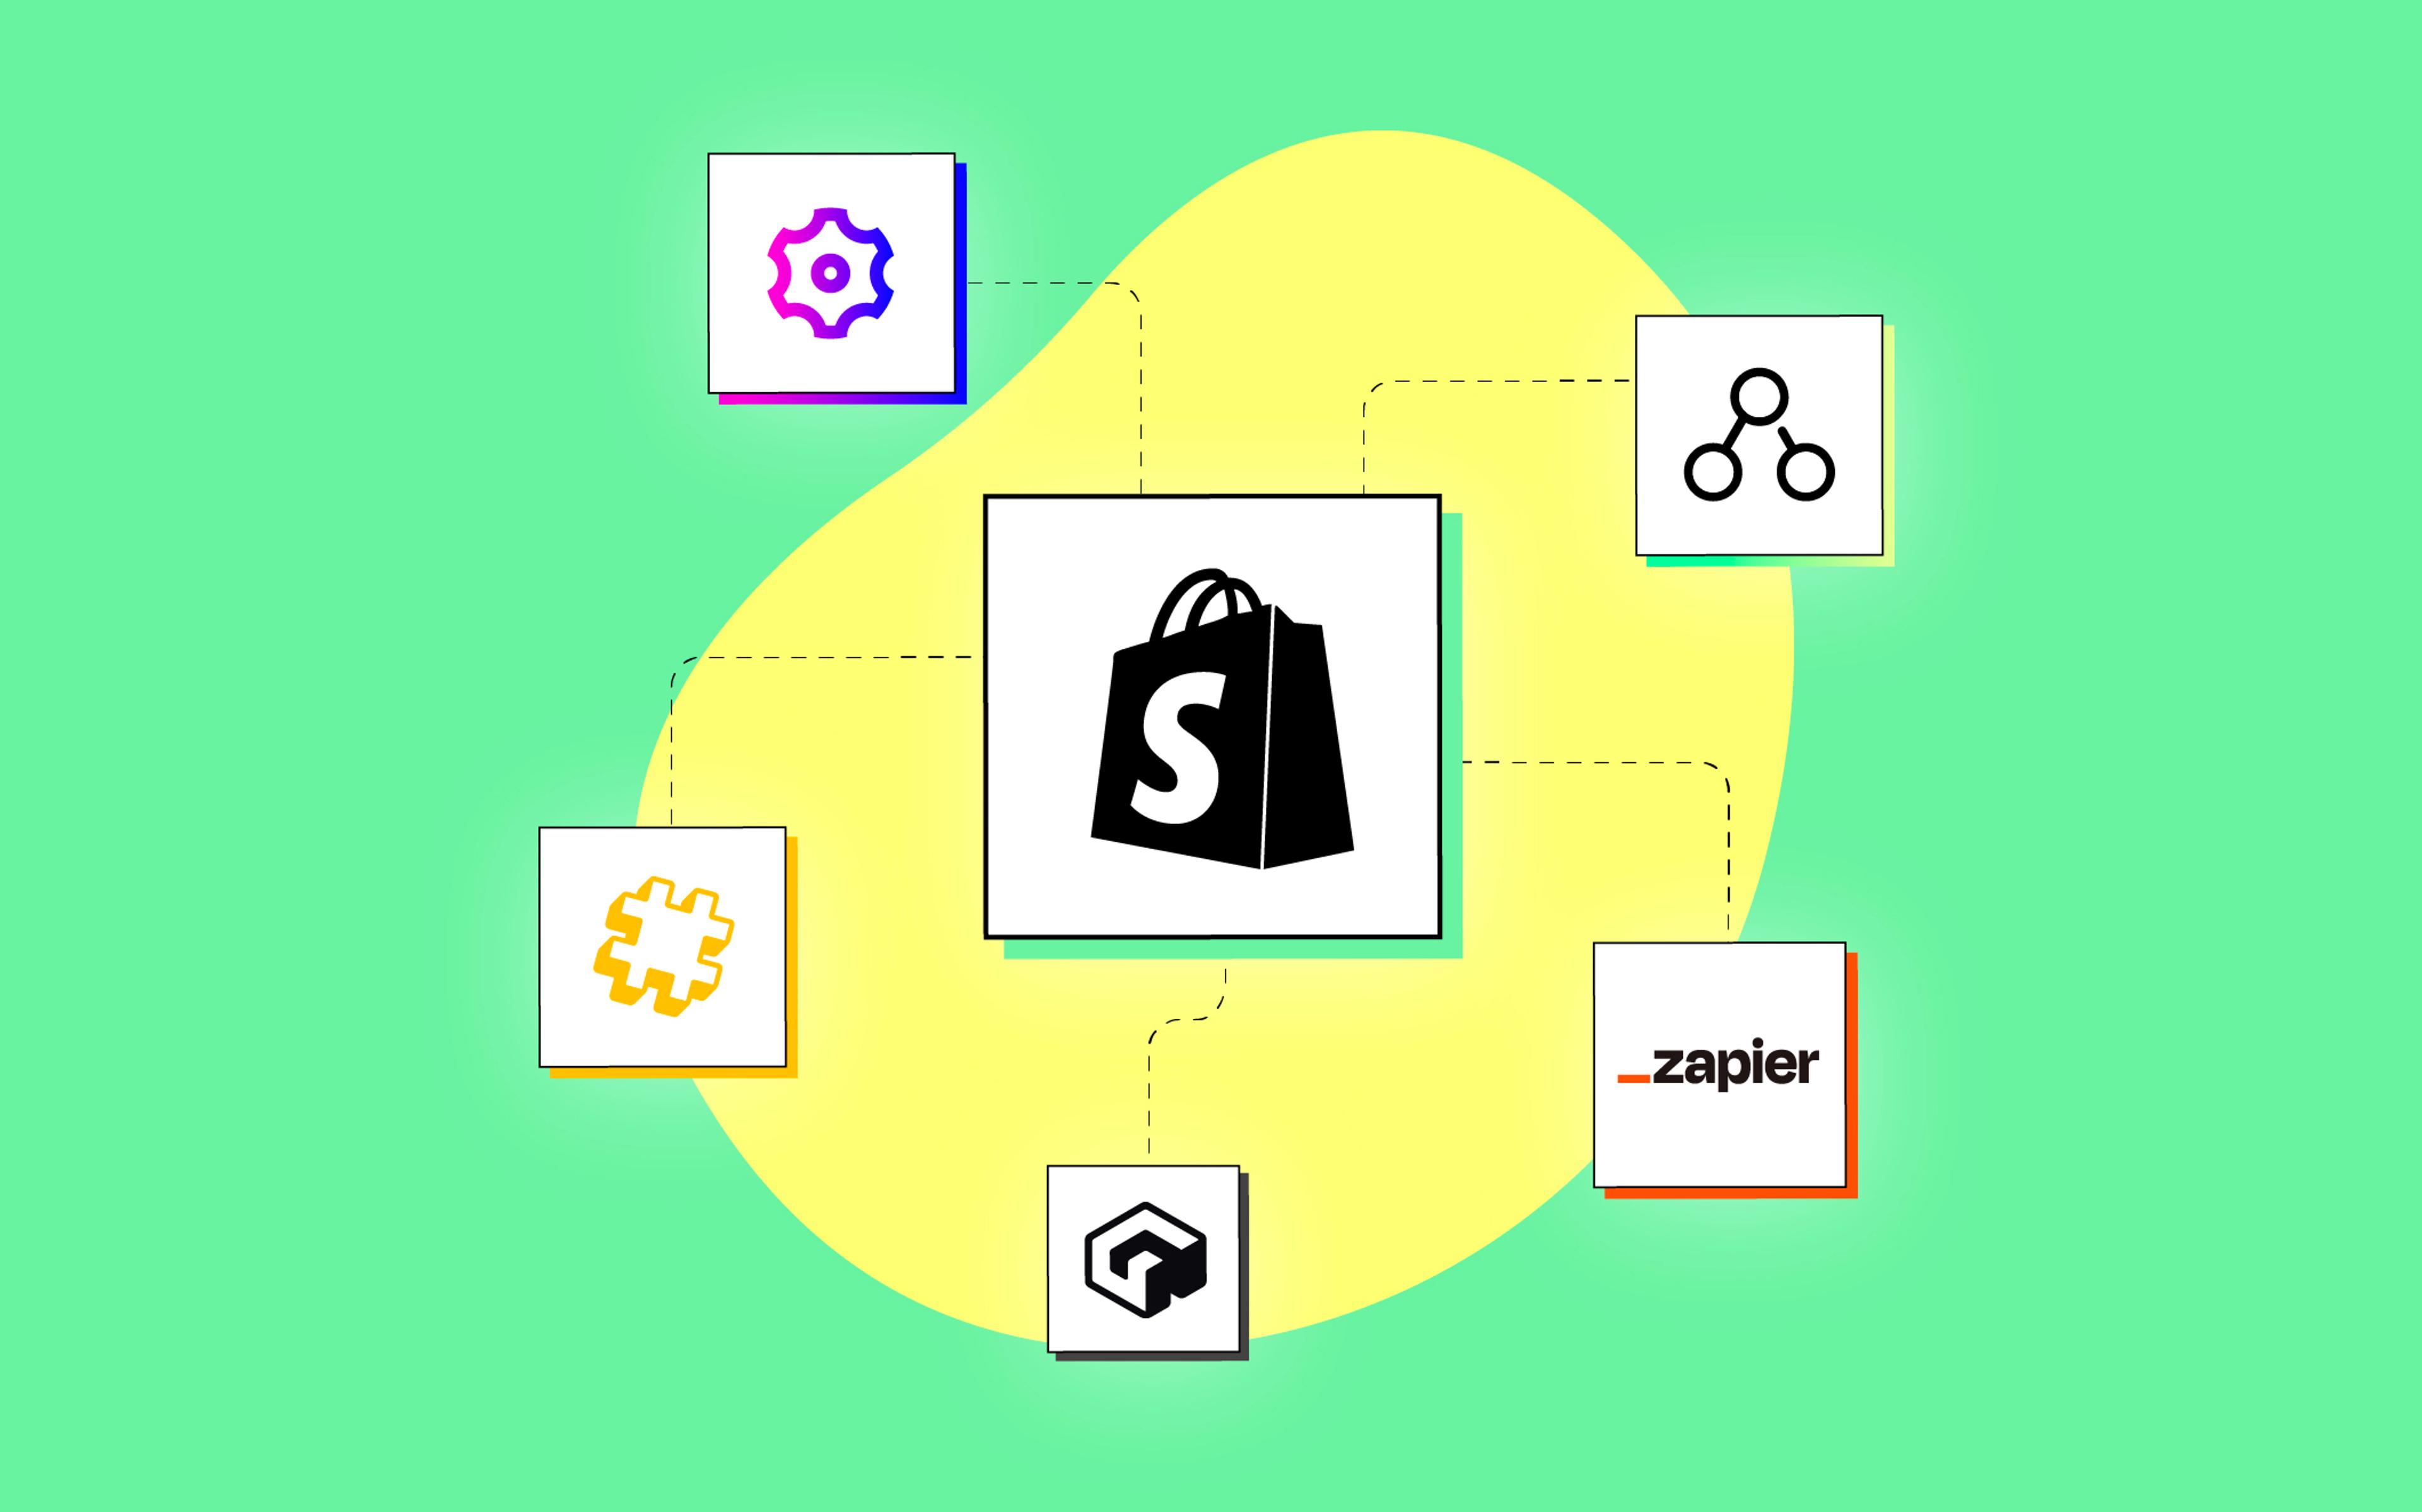
In terms of functionality, while Shopify’s POS system comes with a rich set of native features, Shopify also offers the ability to customize the POS system using Apps. The Shopify App Store already features 200+ POS apps, offering product bundles, loyalty programs, and retail staff management features.
Still, if these apps don’t cater to your needs, you can develop your own POS UI extension—a trend becoming increasingly popular as Shopify starts serving larger merchants with more sophisticated requirements.
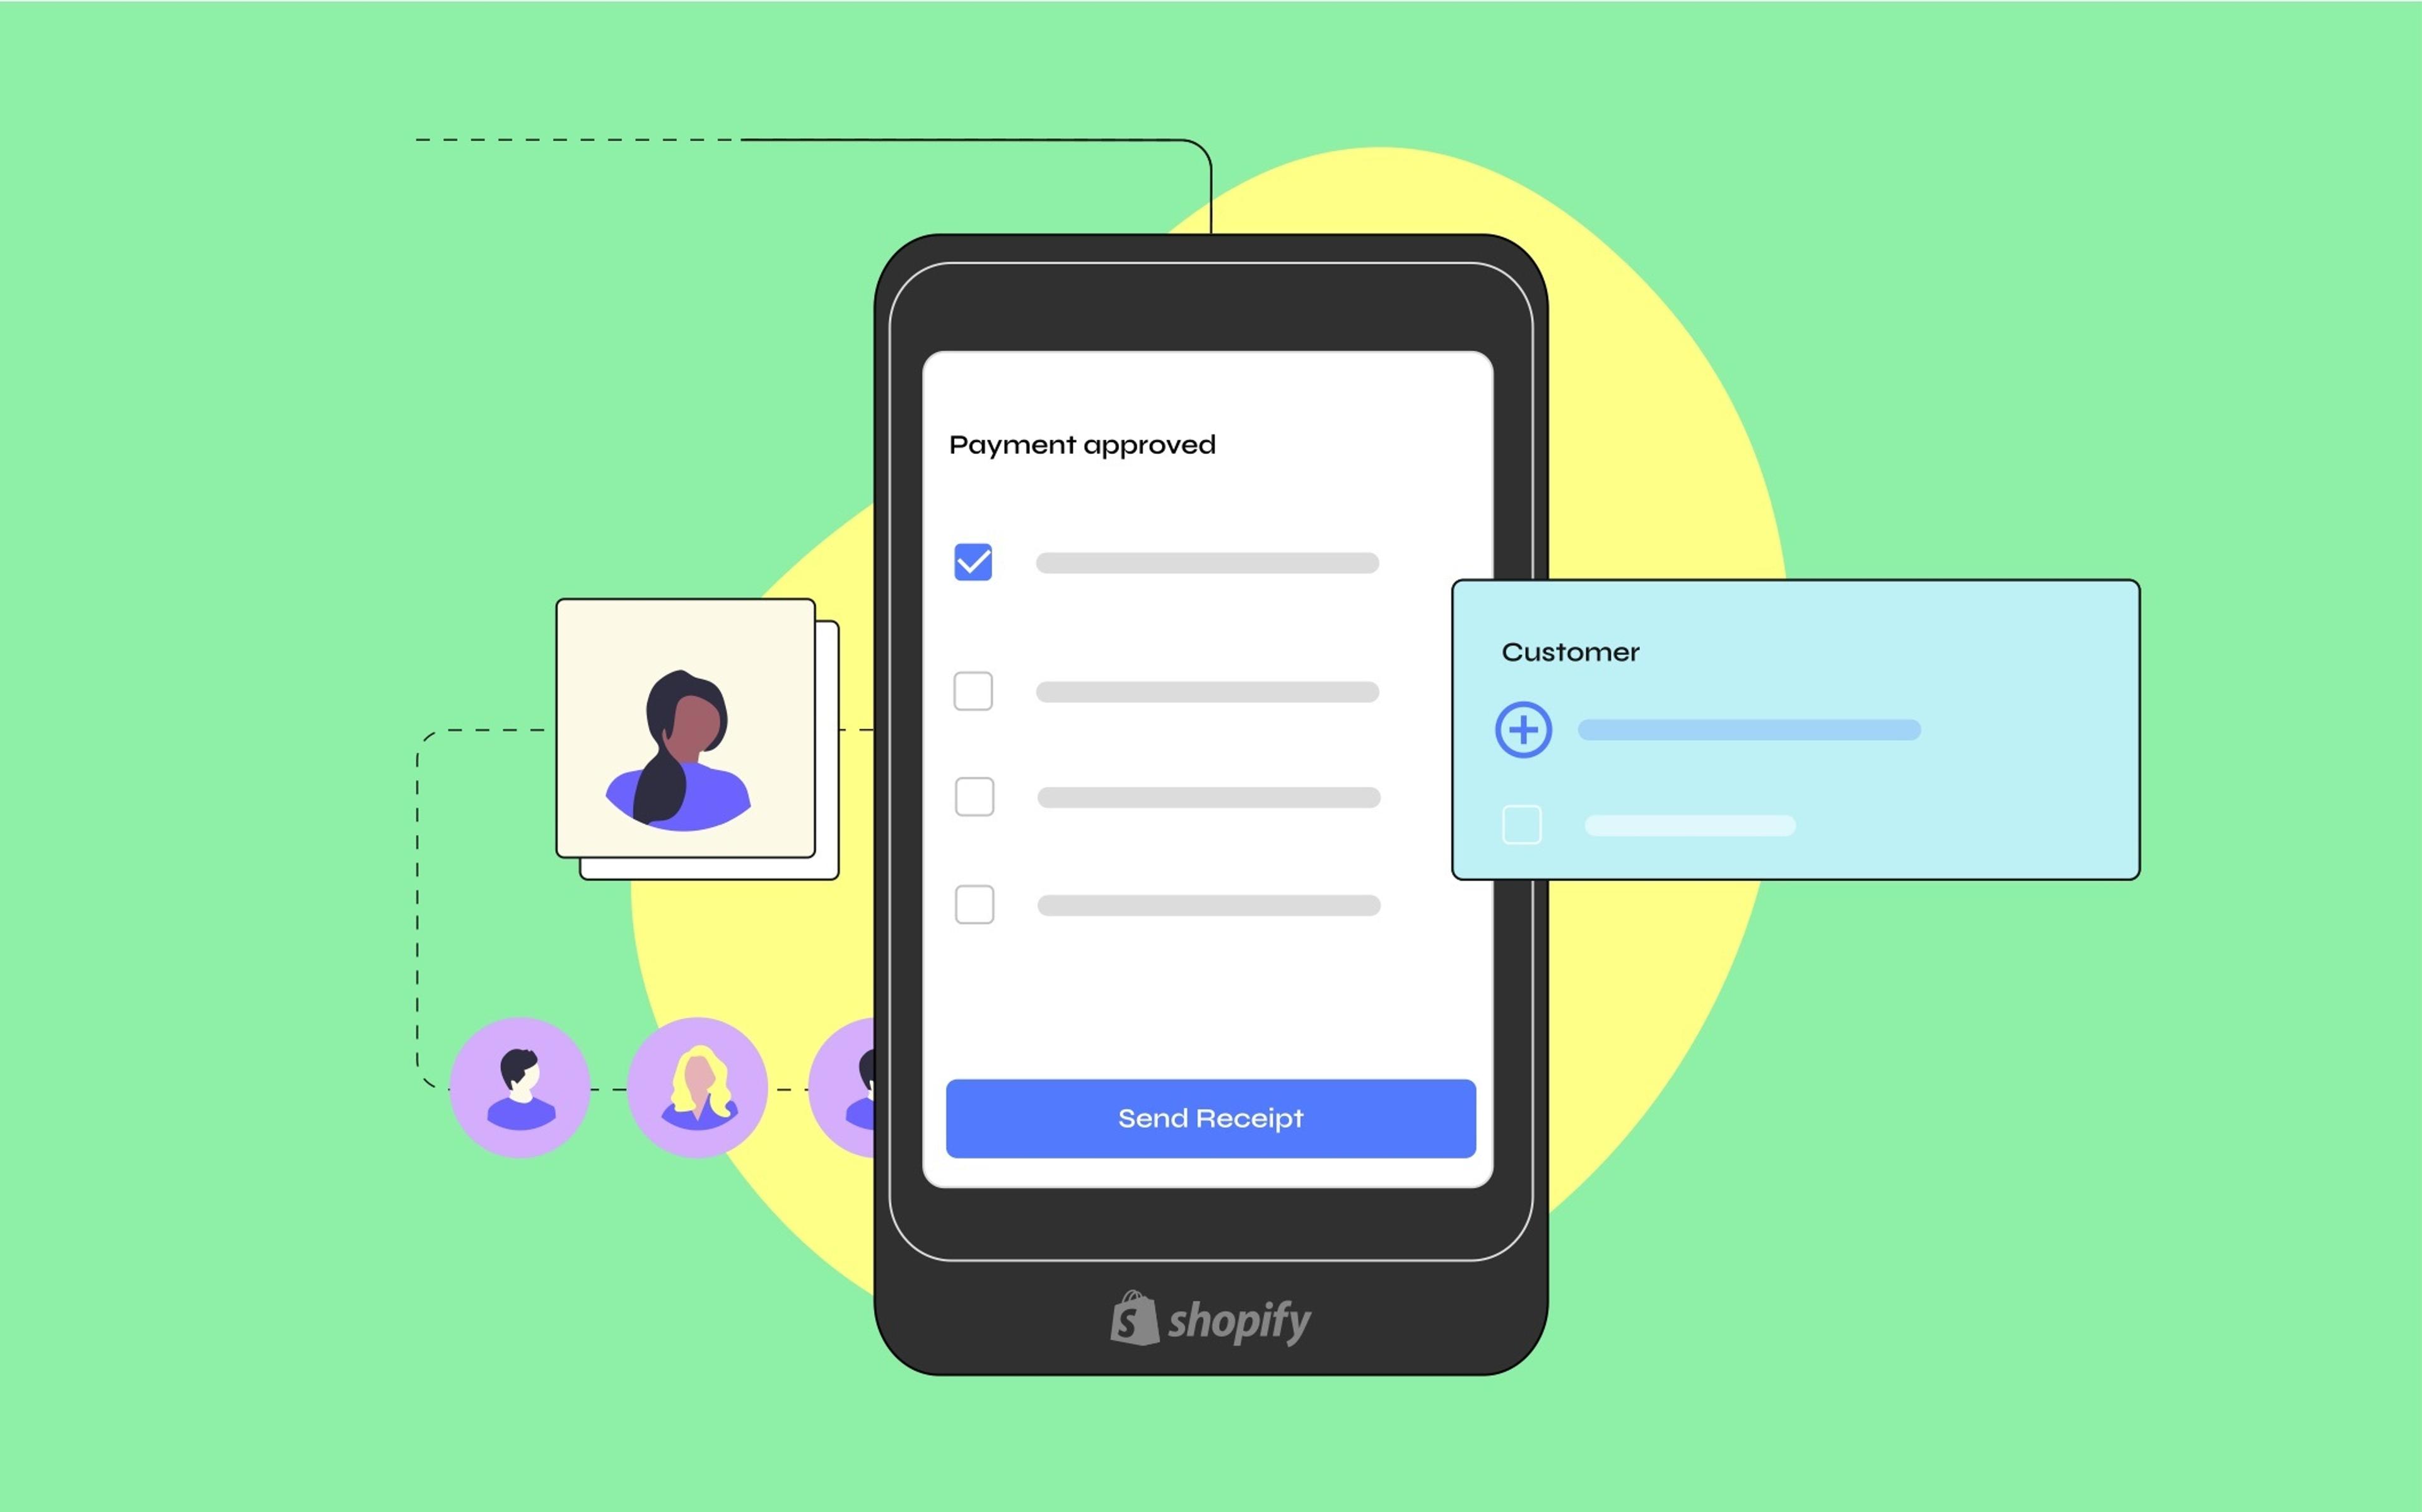
In this article, we will show how to do exactly that: by taking inspiration from a real-world scenario, we will build an end-to-end Shopify extension that allows your customers to show a QR code while completing in-store purchases to connect the purchase to their customer account. This eliminates the need for a store associate to look up the customer by their name or email and creates a nice “wow” moment for the customers.
Let’s get started!
Creating Our Shopify App
Before we can get started building our extension, we will need the following:
- A working Shopify partner account
- The Shopify CLI running on our machine
- A development store with the Checkout and Customer Accounts Extensibility developer preview
Once we have everything, the first step is to create a new Shopify App that will expose our custom functionality:
$ shopify app init
The CLI will ask what type of app we want to build. We need a Custom App since we’re building functionality specific to our store and not an app for general distribution.
Once we have our custom app, we must understand what app surfaces we want to hook into. In our case, we’ll need:
- A Customer account UI extension to show a customer their QR code in our online storefront.
- A POS UI extension that will allow store associates to scan the QR code to identify the customer.
Let’s start with the first one!
Displaying the QR Code in the Storefront
Run the following command to create our Customer Account extension:
$ shopify app generate extension --name loyalty-card
When asked what type of extension to generate, select Customer account UI extension. The CLI will also ask whether we want to use JavaScript or TypeScript--we’re going with plain JavaScript for our example, but feel free to use whatever works best for you!
By default, the generator will create a FullPageExtension.jsx and a MenuActionExtension.jsx file as examples. We’ll want to remove them, along with their corresponding configuration in shopify.extension.toml, and replace them with a new extension:
# ...

[[extensions.targeting]]
module = "./src/LoyaltyExtension.jsx"
target = "customer-account.profile.block.render"

# ...
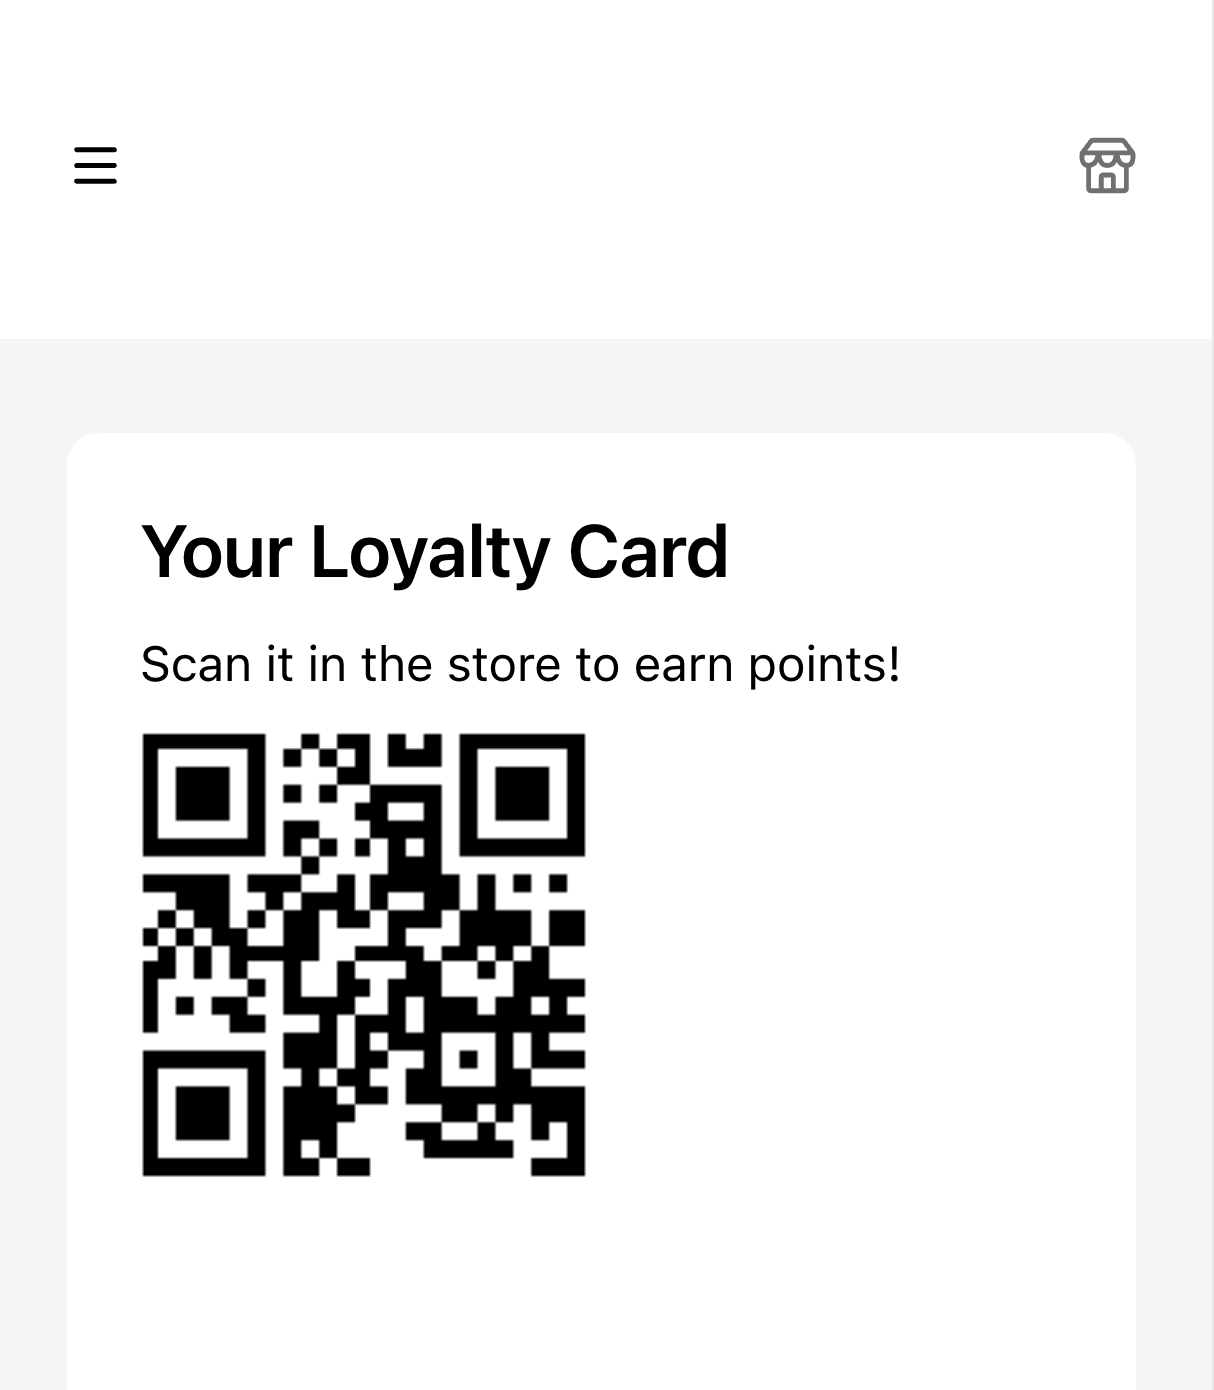
In LoyaltyExtension.jsx, we’ll write the code to render our QR code on the customer profile page. In this example, we’re generating the QR code with a free API, but we could use our own server (also, Shopify will support a QRCode component soon):
import { Heading, Text, View, BlockStack, Link, Card, Image, reactExtension, useApi } from '@shopify/ui-extensions-react/customer-account'

function LoyaltyExtension() {
  const { authenticatedAccount } = useApi()
  const customerId = `gid://shopify/Customer/${authenticatedAccount.customer.current.id}`

  return (
    <Card padding="small">
      <BlockStack spacing="tight">
        <Heading>
          Your Loyalty Card
        </Heading>
        <Text>
          Scan it in the store to earn points!
        </Text>
        <View maxInlineSize={128}>
          <Image source={`https://api.qrserver.com/v1/create-qr-code/?size=300x300&data=${customerId}`} />
        </View>
      </BlockStack>
    </Card>
  )
}

export default reactExtension(
  "customer-account.profile.block.render",
  () => <LoyaltyExtension />
)
While this looks like an ordinary React component, we won’t be able to import assets like images or use regular HTML tags. This is because Shopify renders the UI using its native engine. As a result, the styling of our extension is limited to the Components API and the brand styling inherited from the store.
With everything set up, we can test our extension by running:
$ shopify app dev
As part of this command, we must select a partner account and development store to test the app.
With the command running, we can preview our customer account UI extension by pressing P on our keyboard. The Developer Console will open up in our browser with a link to preview the extension. Clicking the link should show our QR code:
With the customer account UI extension working, we are halfway there. Customers can view their loyalty cards, but there is no way our staff can scan them just yet. Let’s see how to do that!
Reading the QR code in the POS
To create an extension capable of scanning QR codes, we need to set up a POS UI extension that interacts with the barcode scanner and sets the customer on the current order when a customer QR code is detected.
Since this extension is part of the same feature we were working on earlier, we will generate the extension under our existing app:
$ shopify app generate extension --name loyalty-card-scanner
Even though POS extensions are set up similarly to customer account extensions, we need to do a bit more work. In the case of our POS extension, we need two components:
- A tile that can be added to the home screen of the POS system.
- A modal that is opened when the tile is pressed.
(If you’re curious, you can find all possible targets for POS extensions here).
Let’s start by creating the modal since we’ll need to use it in the tile. Create a file called Modal.jsx with the following contents:
import { Screen, Navigator, reactExtension, useScannerDataSubscription, CameraScanner, useApi } from '@shopify/ui-extensions-react/point-of-sale'

function Modal() {
  const { cart, toast, navigation } = useApi()
  const { data, source } = useScannerDataSubscription()

  // This runs on every change to `data`.
  if (data?.startsWith('gid://shopify/Customer/')) {
    const id = parseInt(data.split("/").pop())
    cart.setCustomer({ id: id })
    toast.show(`Found Customer: ${id}`)
    navigation.pop()
  }

  return (
    <Navigator>
      <Screen title="Scan Customer Loyalty Card">
        <CameraScanner />
      </Screen>
    </Navigator>
  )
}

export default reactExtension(
  "pos.home.modal.render",
  () => <Modal />
)
Hopefully, the code is pretty self-explanatory:
- We render a screen with a single
CameraScannercomponent. - We use
useScannerDataSubscriptionto listen for scanner data. - When our QR code is detected, we set the customer on the cart, show a toast, and close the modal.
Now that the modal is in place, we must implement a tile component allowing store operators to access it. This is quite straightforward! Just create a Tile.jsx file with the following contents:
Now that the modal is in place, we need to set up a grid tile to open it when clicked.
import { Tile, reactExtension, useApi } from '@shopify/ui-extensions-react/point-of-sale'

const TileComponent = () => {
  const { action } = useApi()
  return (
    <Tile
      title="Add Customer"
      subtitle="Scan customer loyalty card"
      onPress={() => {
        action.presentModal()
      }}
      enabled
    />
  )
}

export default reactExtension(
  "pos.home.tile.render",
  () => <TileComponent />
)
Tiles are interesting and offer much functionality out of the box; for instance, their API allows them to be dynamically enabled and disabled. You can learn more about them in Shopify’s documentation.
Now that we have our components, we must ensure our app knows where to render them. Add the following to shopify.extension.toml:
# ...

[[extensions.targeting]]
module = "./src/Tile.jsx"
target = "pos.home.tile.render"

[[extensions.targeting]]
module = "./src/Modal.jsx"
target = "pos.home.modal.render"

# ...
Unlike with customer account UI extensions, we cannot test POS UI extensions in the browser. Instead, we’ll need to download the POS app to a supported device, like a smartphone or tablet, that can scan QR codes.
Once we have the Shopify POS app on our device, we can run shopify app dev, press P, open the Developer Console, click on the “View Mobile” button, and scan the QR code with our mobile device. This will enable the developer preview for our extension on the device:

That’s it! Now that our custom app is fully working, it’s time to deploy it.
Deploying the Custom App
Now that both extensions are defined and we are happy with the solution, we can deploy our app. By deploying the app, we make it available to the production stores under the same Partner account.
Since the app with our extensions satisfies the requirements to be hosted by Shopify, all we need to do is run the following command:
$ shopify app deploy
Once the app is deployed, we can install it in our store through the Partner portal.
After installing the app, we need to add our grid tile to the POS home screen to our POS home screen and the Loyalty Card app block to our Account Profile page. Once the changes are published, our customers can find their loyalty card on their account page, and our associates can scan the QR codes via the POS.
The Sky’s the Limit!
With just a few lines of code, we’ve leveraged Shopify’s customer account UI and POS UI extensions to create a smooth loyalty program experience for our most engaged customers. However, there’s so much more we could have done:
- We could retrieve and display a customer’s loyalty status and other data in the POS UI, helping store associates personalize the shopping experience.
- We could allow customers to add their QR code as an item to their Apple Wallet for an even easier (and cooler!) experience.
- We could apply dynamic discounts to the customer’s cart when they scan their QR code based on their shopping history or other parameters.
The only caveat is that we must stick to Shopify’s APIs and UI components to achieve our goals. While this seems a limitation at first, it has some very appealing advantages: our POS UI extension, for instance, will work smoothly on all POS setups, from a single iPhone running the Shopify POS app to a fully-fledged setup POS Terminal setup with a tablet and external barcode scanner.
As Shopify adds more and more extension targets and capabilities to their APIs and UI components, brands will be able to achieve even more with even less--a badly needed superpower in today’s competitive consumer landscape.
If you have a POS UI or other kind of UI customization in mind for your Shopify store and need help launching it, feel free to reach out! We’d love to help.