
If you have used Shopify before, you’ve probably fallen in love with the Theme Editor. With its flexible content management options and smooth editing experience, this little piece of functionality is one of the reasons why brands love Shopify so much, and among the aspecs that make the platform so user-friendly compared to its competitors.
But if you decide to go headless, you might be appalled to find that the Theme Editor is not available on Hydrogen. In this case, you will need to either manage your content through code–a solution that dramatically slows down the pace at which you can make content changes–or implement your own content management solution.
In this article, we’ll show you how to do just that: by using Sanity, one of the most renowned and established headless content management solutions available today, we’ll give you quick walkthrough of how you can create a visual content management experience for your headless Hydrogen store.
Let’s dive in!
Creating Our Content Schema
First of all, let’s create a new Hydrogen application:
$ npm create @shopify/hydrogen@latest
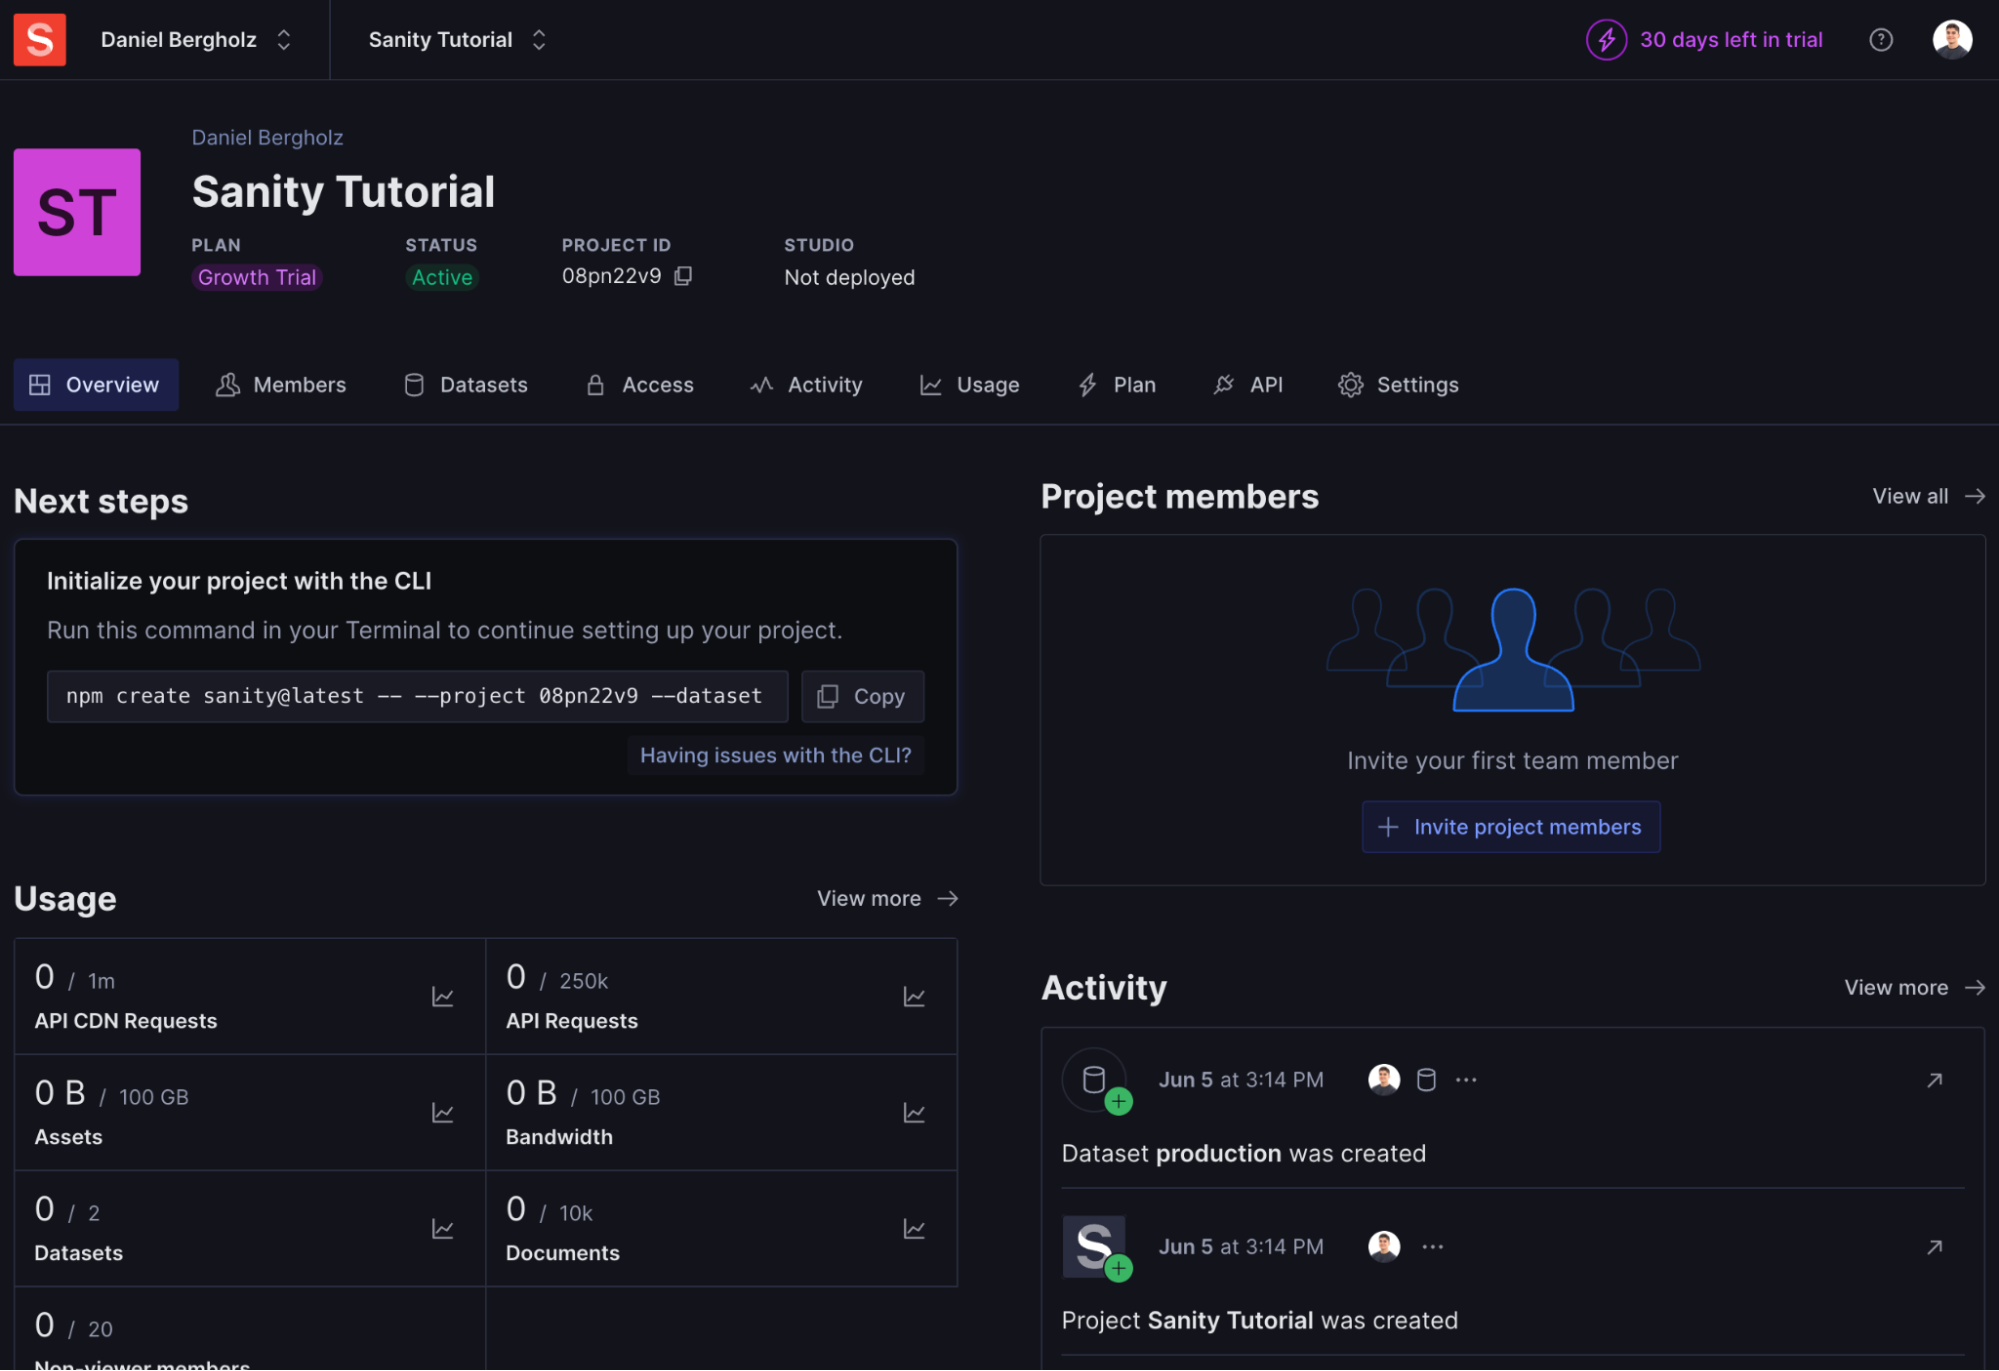
Now, sign into Sanity and create a new project. When asked how you want to set up your project, pick “From scratch with CLI”:

Your project and a public production dataset will be created. You will also receive instructions on setting up Sanity Studio for a JavaScript codebase.
Now, run the Sanity Studio setup command within the Hydrogen codebase, and name the resulting folder studio:
$ npm create sanity@latest -- --project [YOUR PROJECT ID] --dataset production --template clean
This should be the end result:
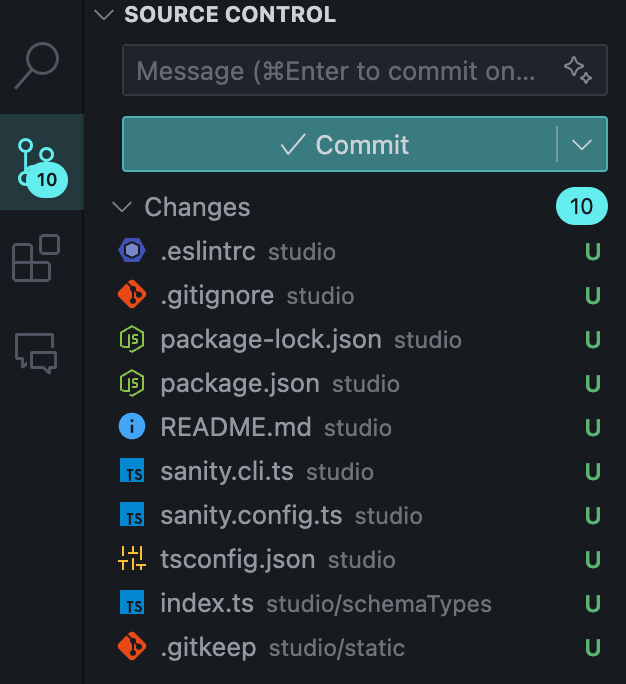
All the files generated for Sanity Studio
Next, let's create a new document in Sanity to display later in Hydrogen. How about a promotional banner? Open studio/schemaTypes/index.ts and create the banner type:
import {defineField, defineType} from 'sanity'

const banner = defineType({
  name: 'banner',
  title: 'Banner',
  type: 'document',
  fields: [
    defineField({
      name: 'title',
      title: 'Title',
      type: 'string',
    }),
    defineField({
      name: 'content',
      title: 'Content',
      type: 'text',
    }),
  ],
})

export const schemaTypes = [banner]
Now run Sanity Studio locally, open http://localhost:3333/, and create a few banners:
$ cd studio && npm run dev
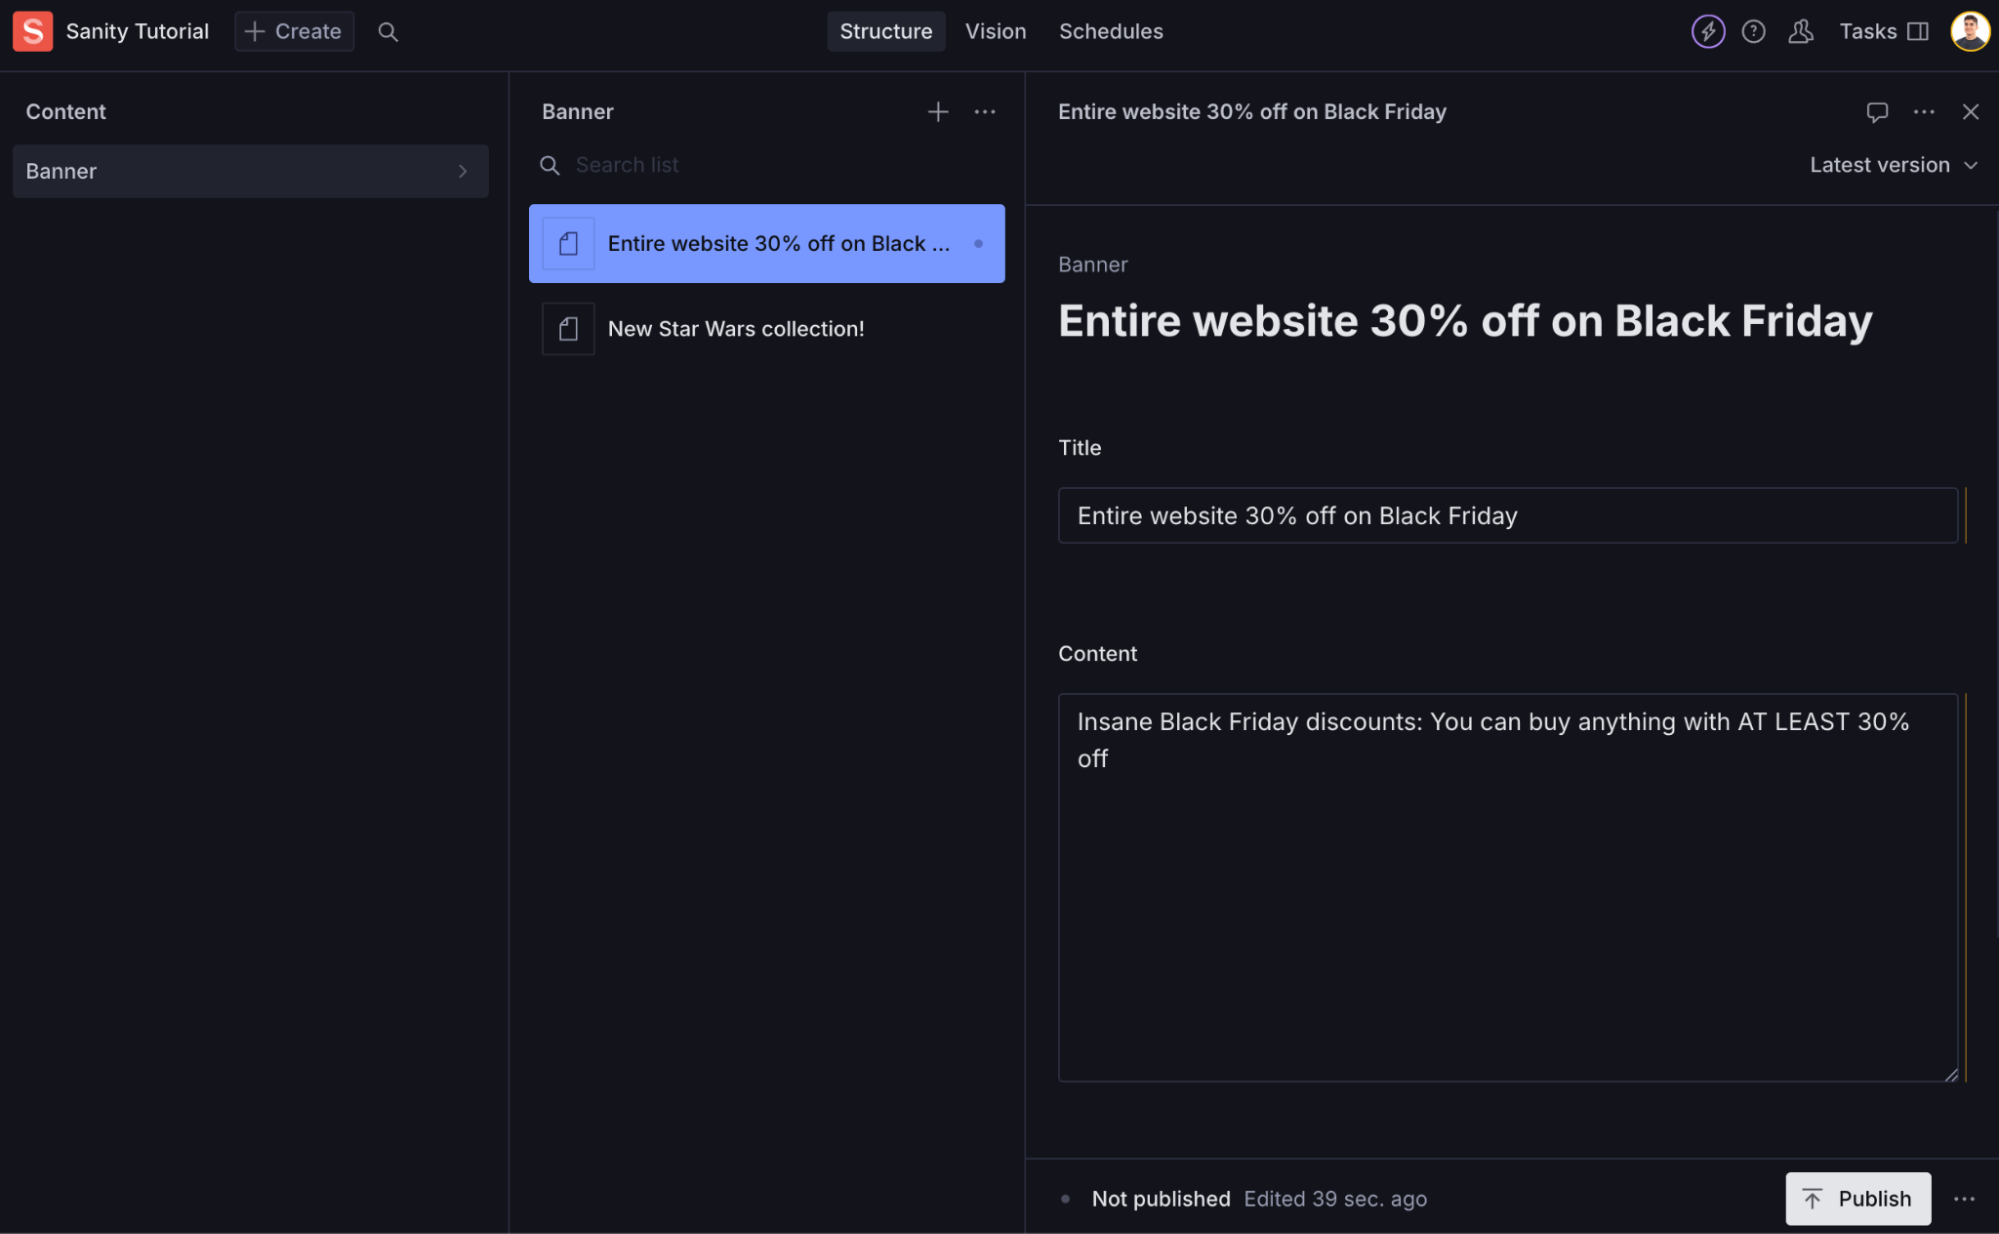
Et voilà, our content is available in Sanity! Now, it’s time to connect Hydrogen to Sanity, so that we can actually retrieve and display the content.
Connecting Hydrogen to Sanity
We now need to connect our Hydrogen store to Sanity to retrieve this data and display it on the homepage. Let's install the official integration package in the root folder:
$ npm i hydrogen-sanity
Add a couple of environment variables to .env:
SANITY_STUDIO_PROJECT_ID=[YOUR PROJECT ID]
SANITY_STUDIO_DATASET=[YOUR DATASET NAME, USUALLY "production"]
SANITY_STUDIO_URL="http://localhost:3333"
Update the server.ts file from the root to include the Sanity Loader:
// ...all other imports
// Add imports for Sanity Loader and Preview Session
import {createSanityLoader} from 'hydrogen-sanity'

// Inside the default export
export default () => {
  // ... Leave all other functions like the storefront client as-is

  // (Prerequisite) If not already initialized, create a `withCache` handler...
  const withCache = createWithCache({cache, waitUntil, request})

  // 1. Configure the Sanity Loader and preview mode
  const sanity = createSanityLoader({
    withCache,
    client: {
      projectId: env.SANITY_PROJECT_ID,
      dataset: env.SANITY_DATASET,
      apiVersion: env.SANITY_API_VERSION || '2023-03-30',
      useCdn: process.env.NODE_ENV === 'production',
    },
  });

  // 2. Make Sanity available to all action and loader contexts
  const handleRequest = createRequestHandler({
    // ...other settings
    getLoadContext: () => ({
      // ...other providers
      withCache,
      sanity,
    }),
  })
}
Your Sanity client will now be available in context.sanity in all your Remix loaders!
Retrieving Content from Sanity
Let’s try to visualize the banners we have created previously.
Inside the homepage app/routes/_index.tsx, add a Sanity query to the loader function:
export async function loader({context}: LoaderFunctionArgs) {
  // ...other storefront queries

  const banners = await context.sanity.loadQuery(`*[_type == "banner"]`);

  return json({
    // ... storefront queries
    banners,
  });
}
And inside the same file, modify the UI to display the data we’re retrieving:
export default function Homepage() {
  const {banners} = useLoaderData<typeof loader>();

  return (
    <div className="banner-container">
      {banners.data.map((banner) => (
        <div key={banner._id} className="banner">
          <h2>{banner.title}</h2>
          <p>{banner.content}</p>
        </div>
      ))}
    </div>
  );
}
And here you go! We’ve added a bit of CSS to make the preview look nicer:
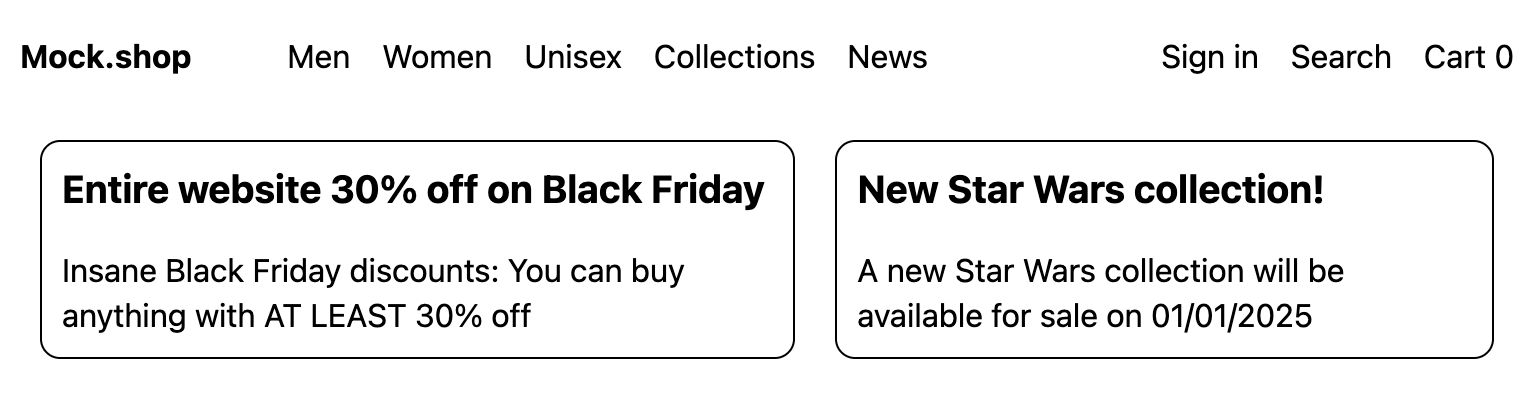
Obviously, this is a very basic example–in the real world, you’ll have a much richer content schema. You may even allow your content editors to compose pages however they want by creating a 1:1 mapping between your Sanity schemas to React components, adding live previews, etc.
The sky’s the limit, and we encourage you to check out the Sanity documentation to learn about all the possibilities!
Keep Up with The Ecosystem
In this article, we have rolled our custom Hydrogen-Sanity integration, but the Remix and Hydrogen ecosystem are evolving rapidly. In fact, Sanity used to offer ready-made templates for integrating with Hydrogen, but they’ve since been archived. Shopify also just announced that they will be releasing their own visual editor very soon, in which case it might be worth switching over!
All of this to say, make sure to stay on top of what’s happening in the ecosystem and follow the latest best practices if you don’t want to be left behind. And if you do deviate from those best practices, make sure that you always have a good reason for doing it!