3D illustrations are a trend of web design in 2021: reality and virtual reality are getting closer and closer. The combination of 3D shapes and effects in the 2D space is a great example of this trend in action. This is the right time to start learning something new, then!
At Nebulab, every employee has a bunch of hours to spend on personal projects, trying new tools, or studying to improve their skills and professionalism, so I decided to spend some hours of my Investment Time developing a new skill that is useful for creating trendy illustrations and animations. I want to share my design process and what I’ve learned along the way.
Spline 3D, nice to meet you!
I’ve always been fascinated by 3D design. Several years ago I tried Blender but I found it very complicated: the environment was very far from the applications that designers like me use, and since it wasn’t a must-to-have skill at that time, I gave up very soon.
This time I approached again to the three-dimensional design by using a brand new tool that makes 3D easier for a not-3D designer like me. This tool is Spline: its interface is very similar to the majority of other design apps like Figma, for example. On the left side, there’s the layers panel while the tools used more frequently are on the top of the window. On the right side, you can find all the other options like Global Settings, Shape options, Camera Settings, etc.
Initial phase: copy, try, repeat
When I start to develop a new skill, my approach is: learning the foundation, seeing how others do it, and playing with features and effects. Mostly, having fun.
Since Spline 3D was launched quite recently, you won’t find tons of tutorials on YouTube but there is a useful documentation that gives you an overview of what (and how) you can do with Spline. Moreover, there’s a library where you can find illustrations and animations for playing with all the features.
 This is the original mock-up of the Spline library.
 This is the customized version I did, starting with the mock-up above.
Camera operations
One of the first things I’ve learned is how to change views by using camera controls.
-
[Option / Alt] + drag to rotate the screen (camera).
-
Press [Space] + drag to move the camera around the canvas.
These controls allow you to simulate different views of your canvas and let you understand how three-dimensionality works.
Materials
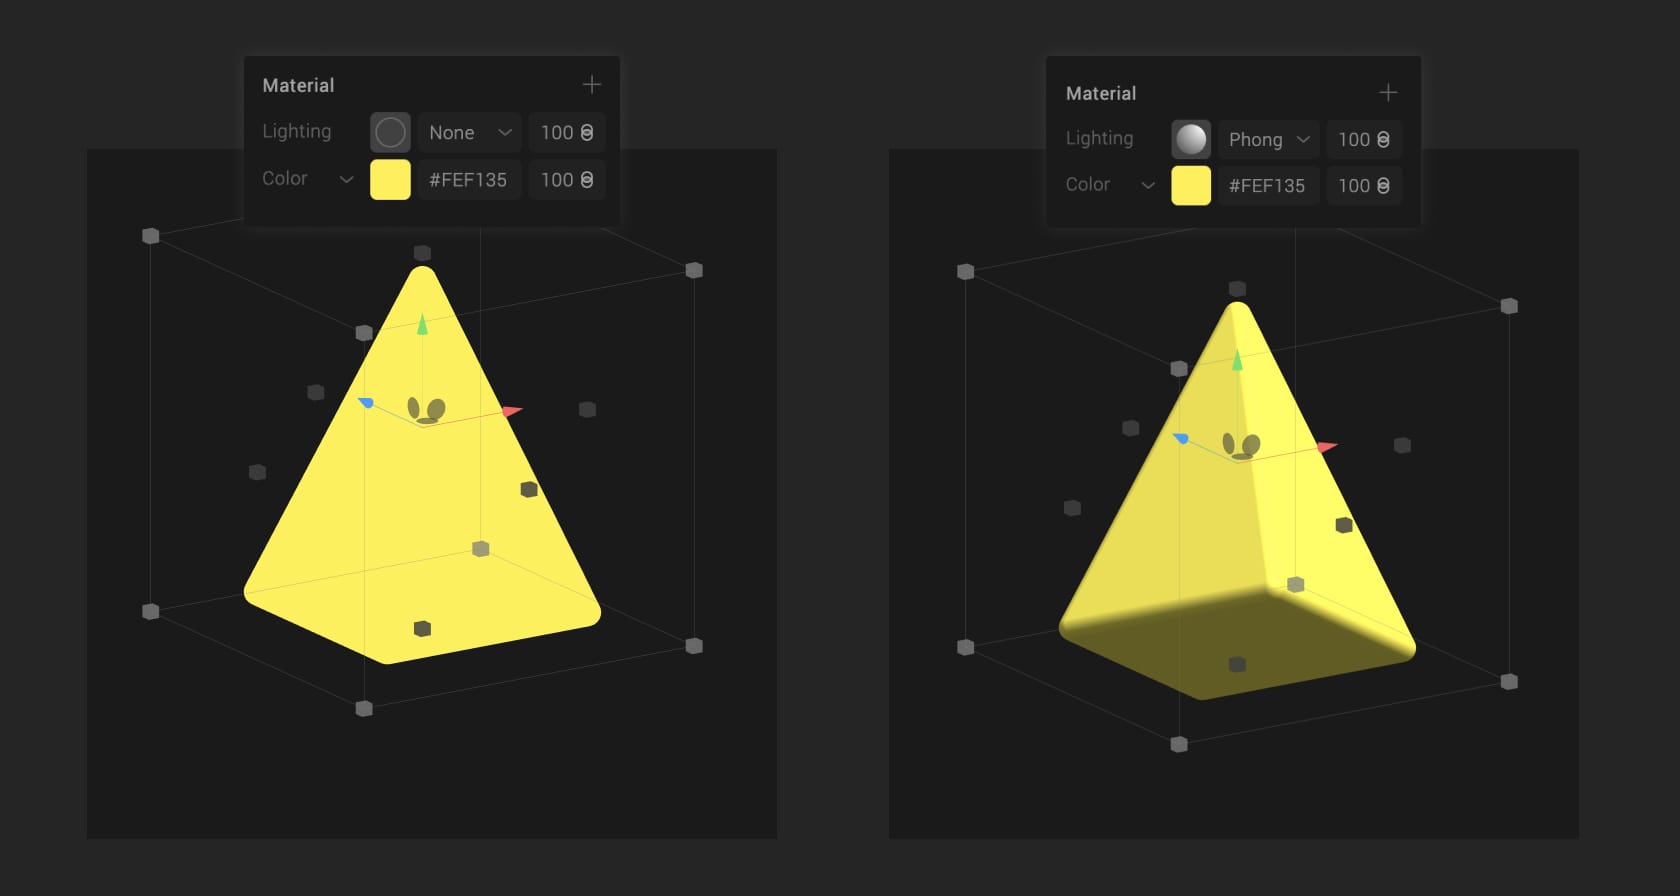
In Spline, there’re 7 types of Material thus the Lighting layer: initially, I was wondering about having more options for creating awesome 3D color effects, but then I sooner understood that mixing just two or three material layers thus the Lighting one, lets you create a lot of combinations and you can easily find yourself spending two hours or more on it because you can’t decide which one you like most! That’s why I think is better to complete the illustration as the first thing, adding some animations eventually, and then focus on the colors and lights. The simplest three-dimensional effect is given by the Lighting layer (try to fill your object with a color and move the Lighting layer above).
Adding a gradient by the Gradient layer seems a bit flat to me; a more precise method for adding gradient (or depth) to your objects is the Depth layer.
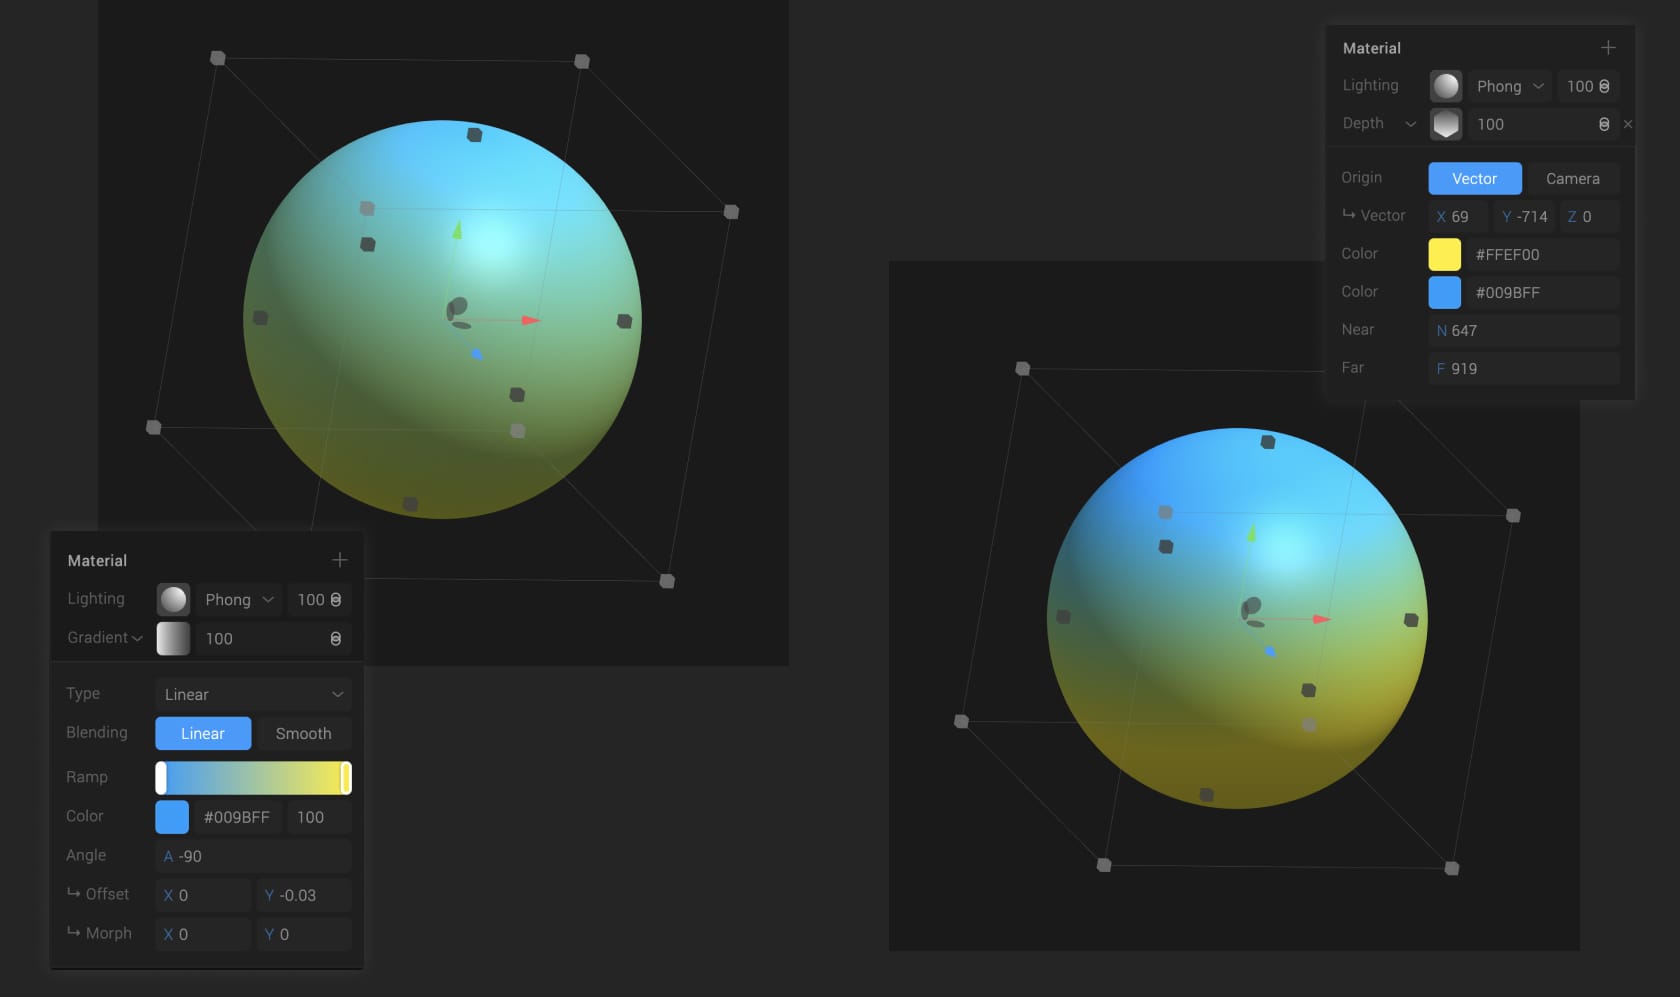 Gradient material vs Depth.
Playing with Material for creating something cool
Another design trend in 2021 is holographic and reflective elements. You can create these two effects using the Texture material: import your holographic background (stock images or created using Photoshop), and edit the texture properties until the result satisfies you.

An example of how to use the Texture tool for creating the holographic effect.
Use Fresnel for creating a reflective effect like this ring I did:

For each Material layer, you can set the mode property and the layer opacity as you’d in Photoshop (normal, multiply, screen, overlay).
Tricks that can save your time
-
You can copy/paste material from an object to another. (▲)
-
With the Cloner tool, it’s possible to clone an object and you can set the number of clones you want, the Type (how the clones are placed on the canvas - radial, linear, grid), and you can adjust the position, rotation, and scale them.
-
With the Visibility mode, you can display the wireframe of a 3D object (and that might be a cool effect for your artwork!).
(▲) While I was writing this article, Spline has released the Alpha II version that introduces the web app and the Material Assets feature: now is possible to save Materials as assets on your project!
 The new feature, Material Assets, works like Figma.
Starting from a blank canvas
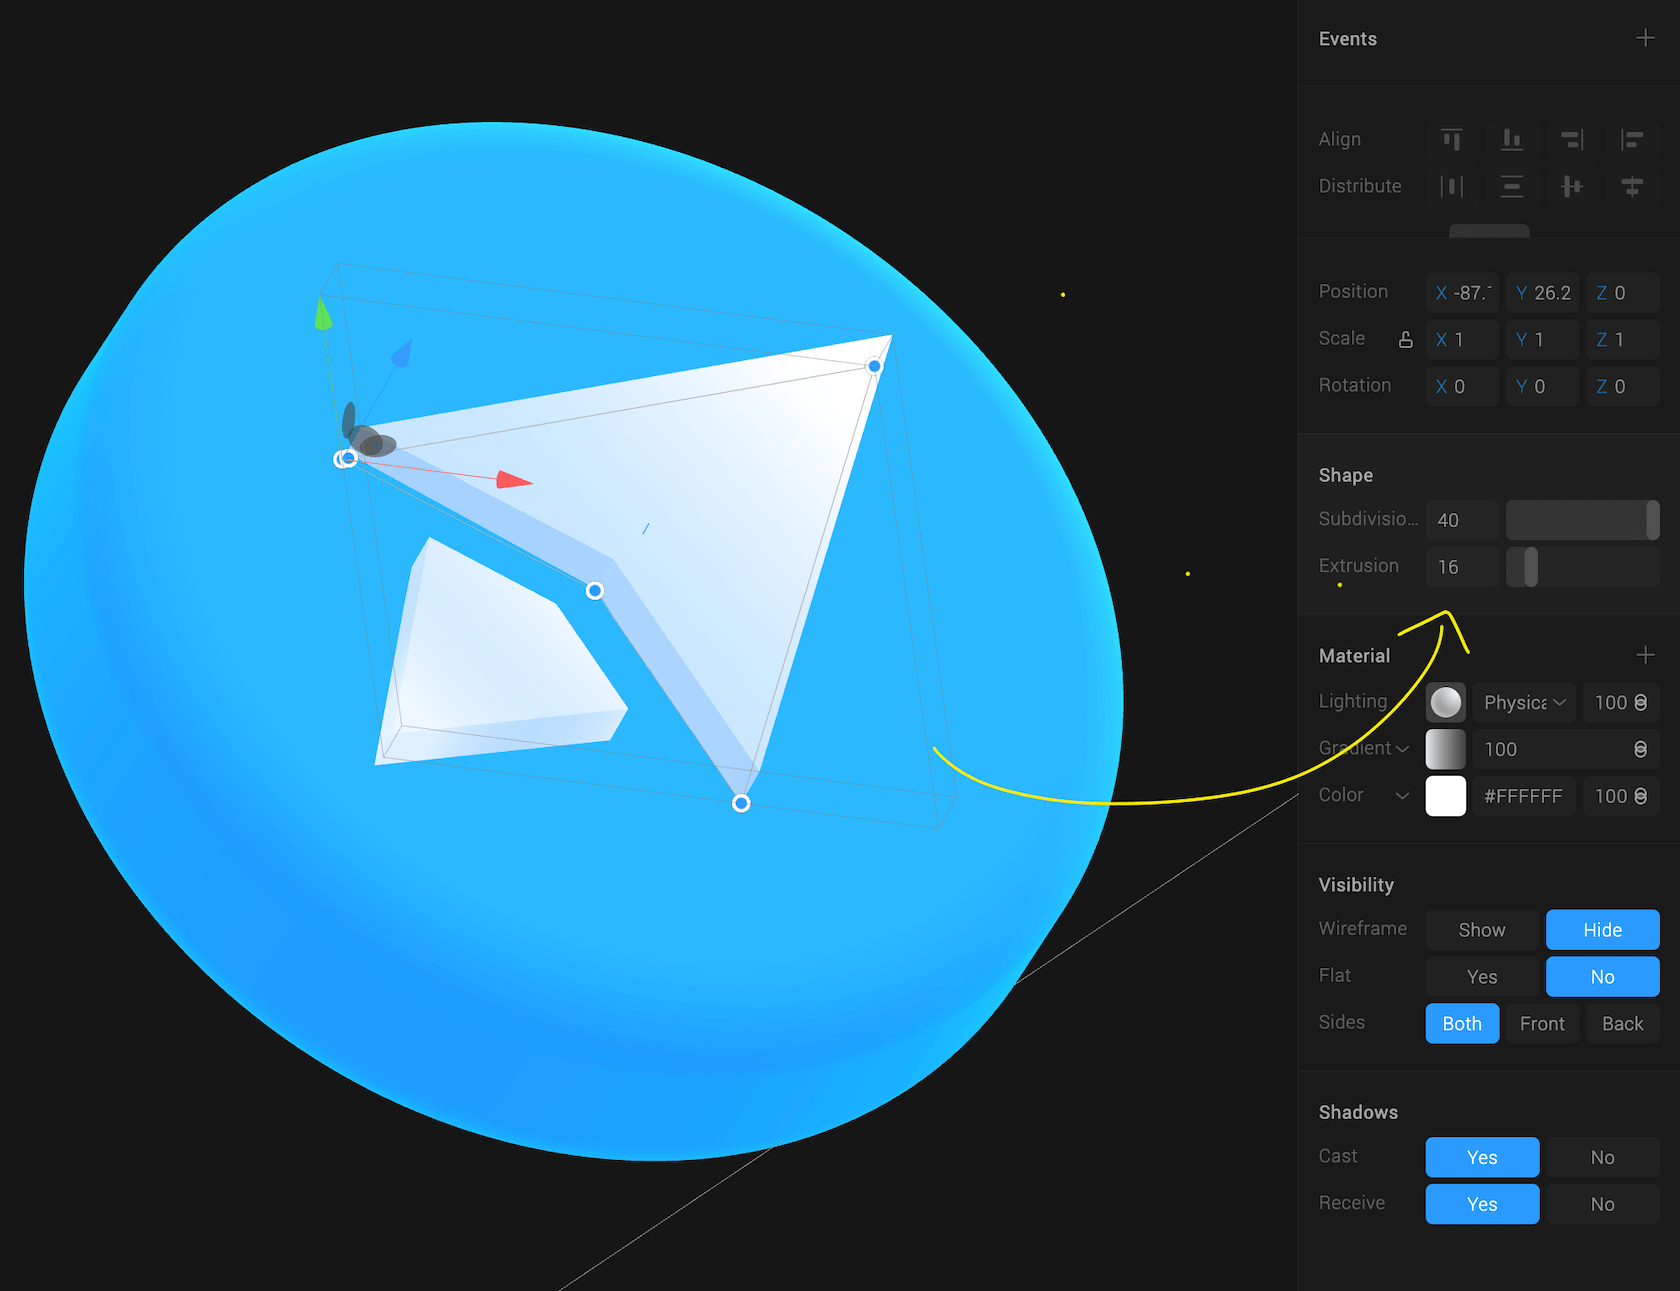
After the discovery phase, I felt ready to start with something simple like an infinite rotation of the Nebulab logo as if it was an app icon. Spline 3D lets you import SVG files and after the Alpha II version was released, you can use the Extrusion tool to transform flat shapes into 3D objects.

Let’s move it!
Now that I have the Nebulab logo as a shiny bold blue cookie, I want to add a simple animation. I browsed on Dribbble looking for some inspiration and then I opted for a rotating animation with a final ease-out motion.
Understanding States and Events
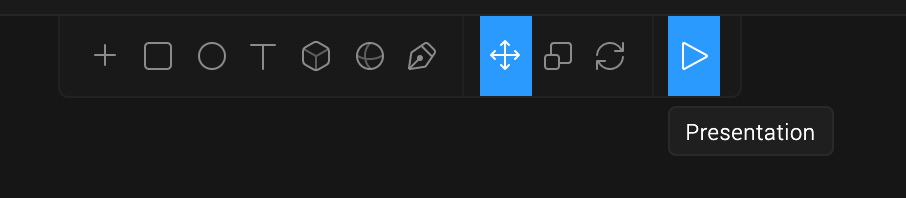
At the top of the right menu, you can find States and Events. Playing with animations with Spline is pretty simple (like everything else 😃) also because you can see the preview whenever you want, by clicking the Play button on the topbar tools.
To make my first animation, I need two states:
-
Base State, is the initial position or style of an object.
-
State 1, which changes the previous state values.
You can change the position and/or the aspect of your object. In this example, I rotated the entire logo on its axis.

Now, these two states need a trigger that you can add by the Event panel. (Be sure to have selected Base State and then add a new event). Select the type of trigger for the event:
-
Mouse up, down, hover, that you can use to create a button and you can even link to an external URL.
-
Key up, down, that is the same as the mouse types but it requires adding the key you want that triggers.
-
Start, the animation will start by itself.
-
Look at, this reply the cool effect of moving objects when the user pointer passes over the active area.
-
Follow, the object is linked to your user pointer as a magnet.
I wanted my animation fired automatically, so I selected the Start type. I’ve previously grouped all the shapes that compose the logo, so I had one object to select for the event that I was creating. While the state to select, is State 1.
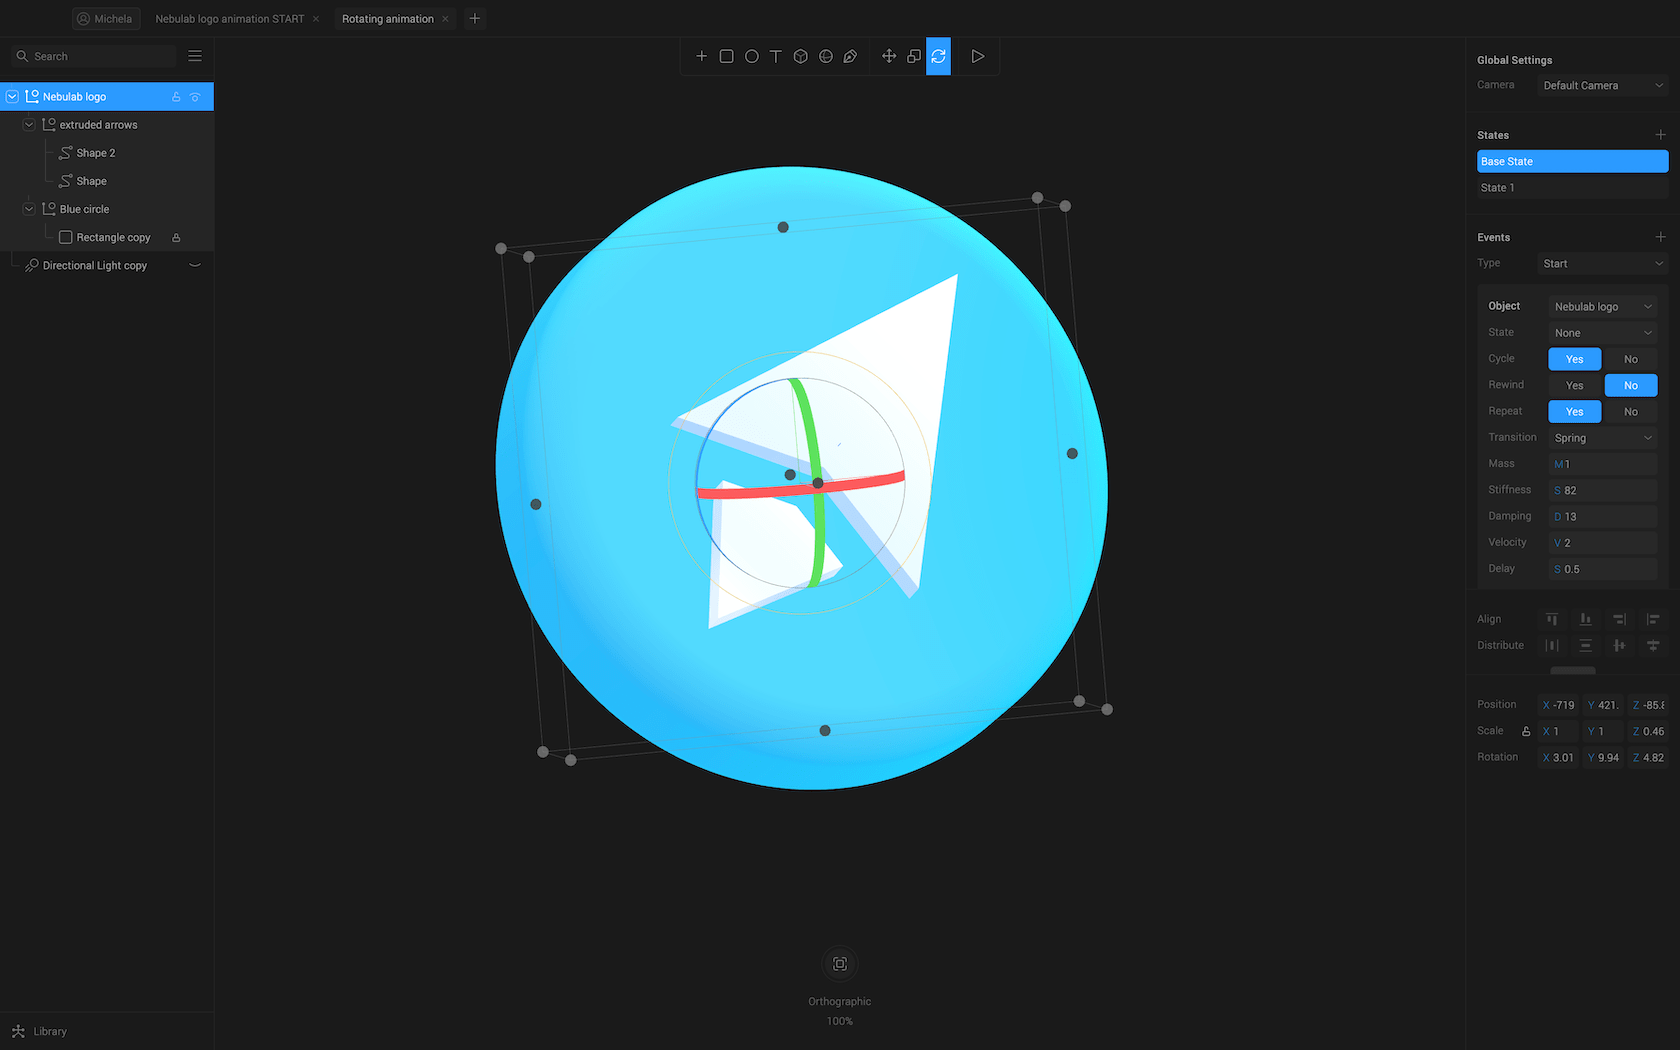
You can decide to repeat the animation infinitely, or just once. Then you can select the Transition type; if you know a bit of CSS these names should sound familiar to you: linear, ease-in, ease-out, ease-in-out, cubic (which is like the CSS cubic-bezier). I’ve played with these all but in the end, I opted for the Spring transition because I like damping effect on this kind of animation. About the Spring transition, you can play with its values since you won’t find the combination that satisfies you.

And that’s it! You can apply different effects to every single object by adding State 1 on it and then add the object to the main event by the “Add a new object to event” button.
 This is the final animation
Don’t limit yourself
As I said before, what matters is having fun! Having the freedom to create whatever you like lets you experiment with a greater variety of features, and makes you more confident with the tool.
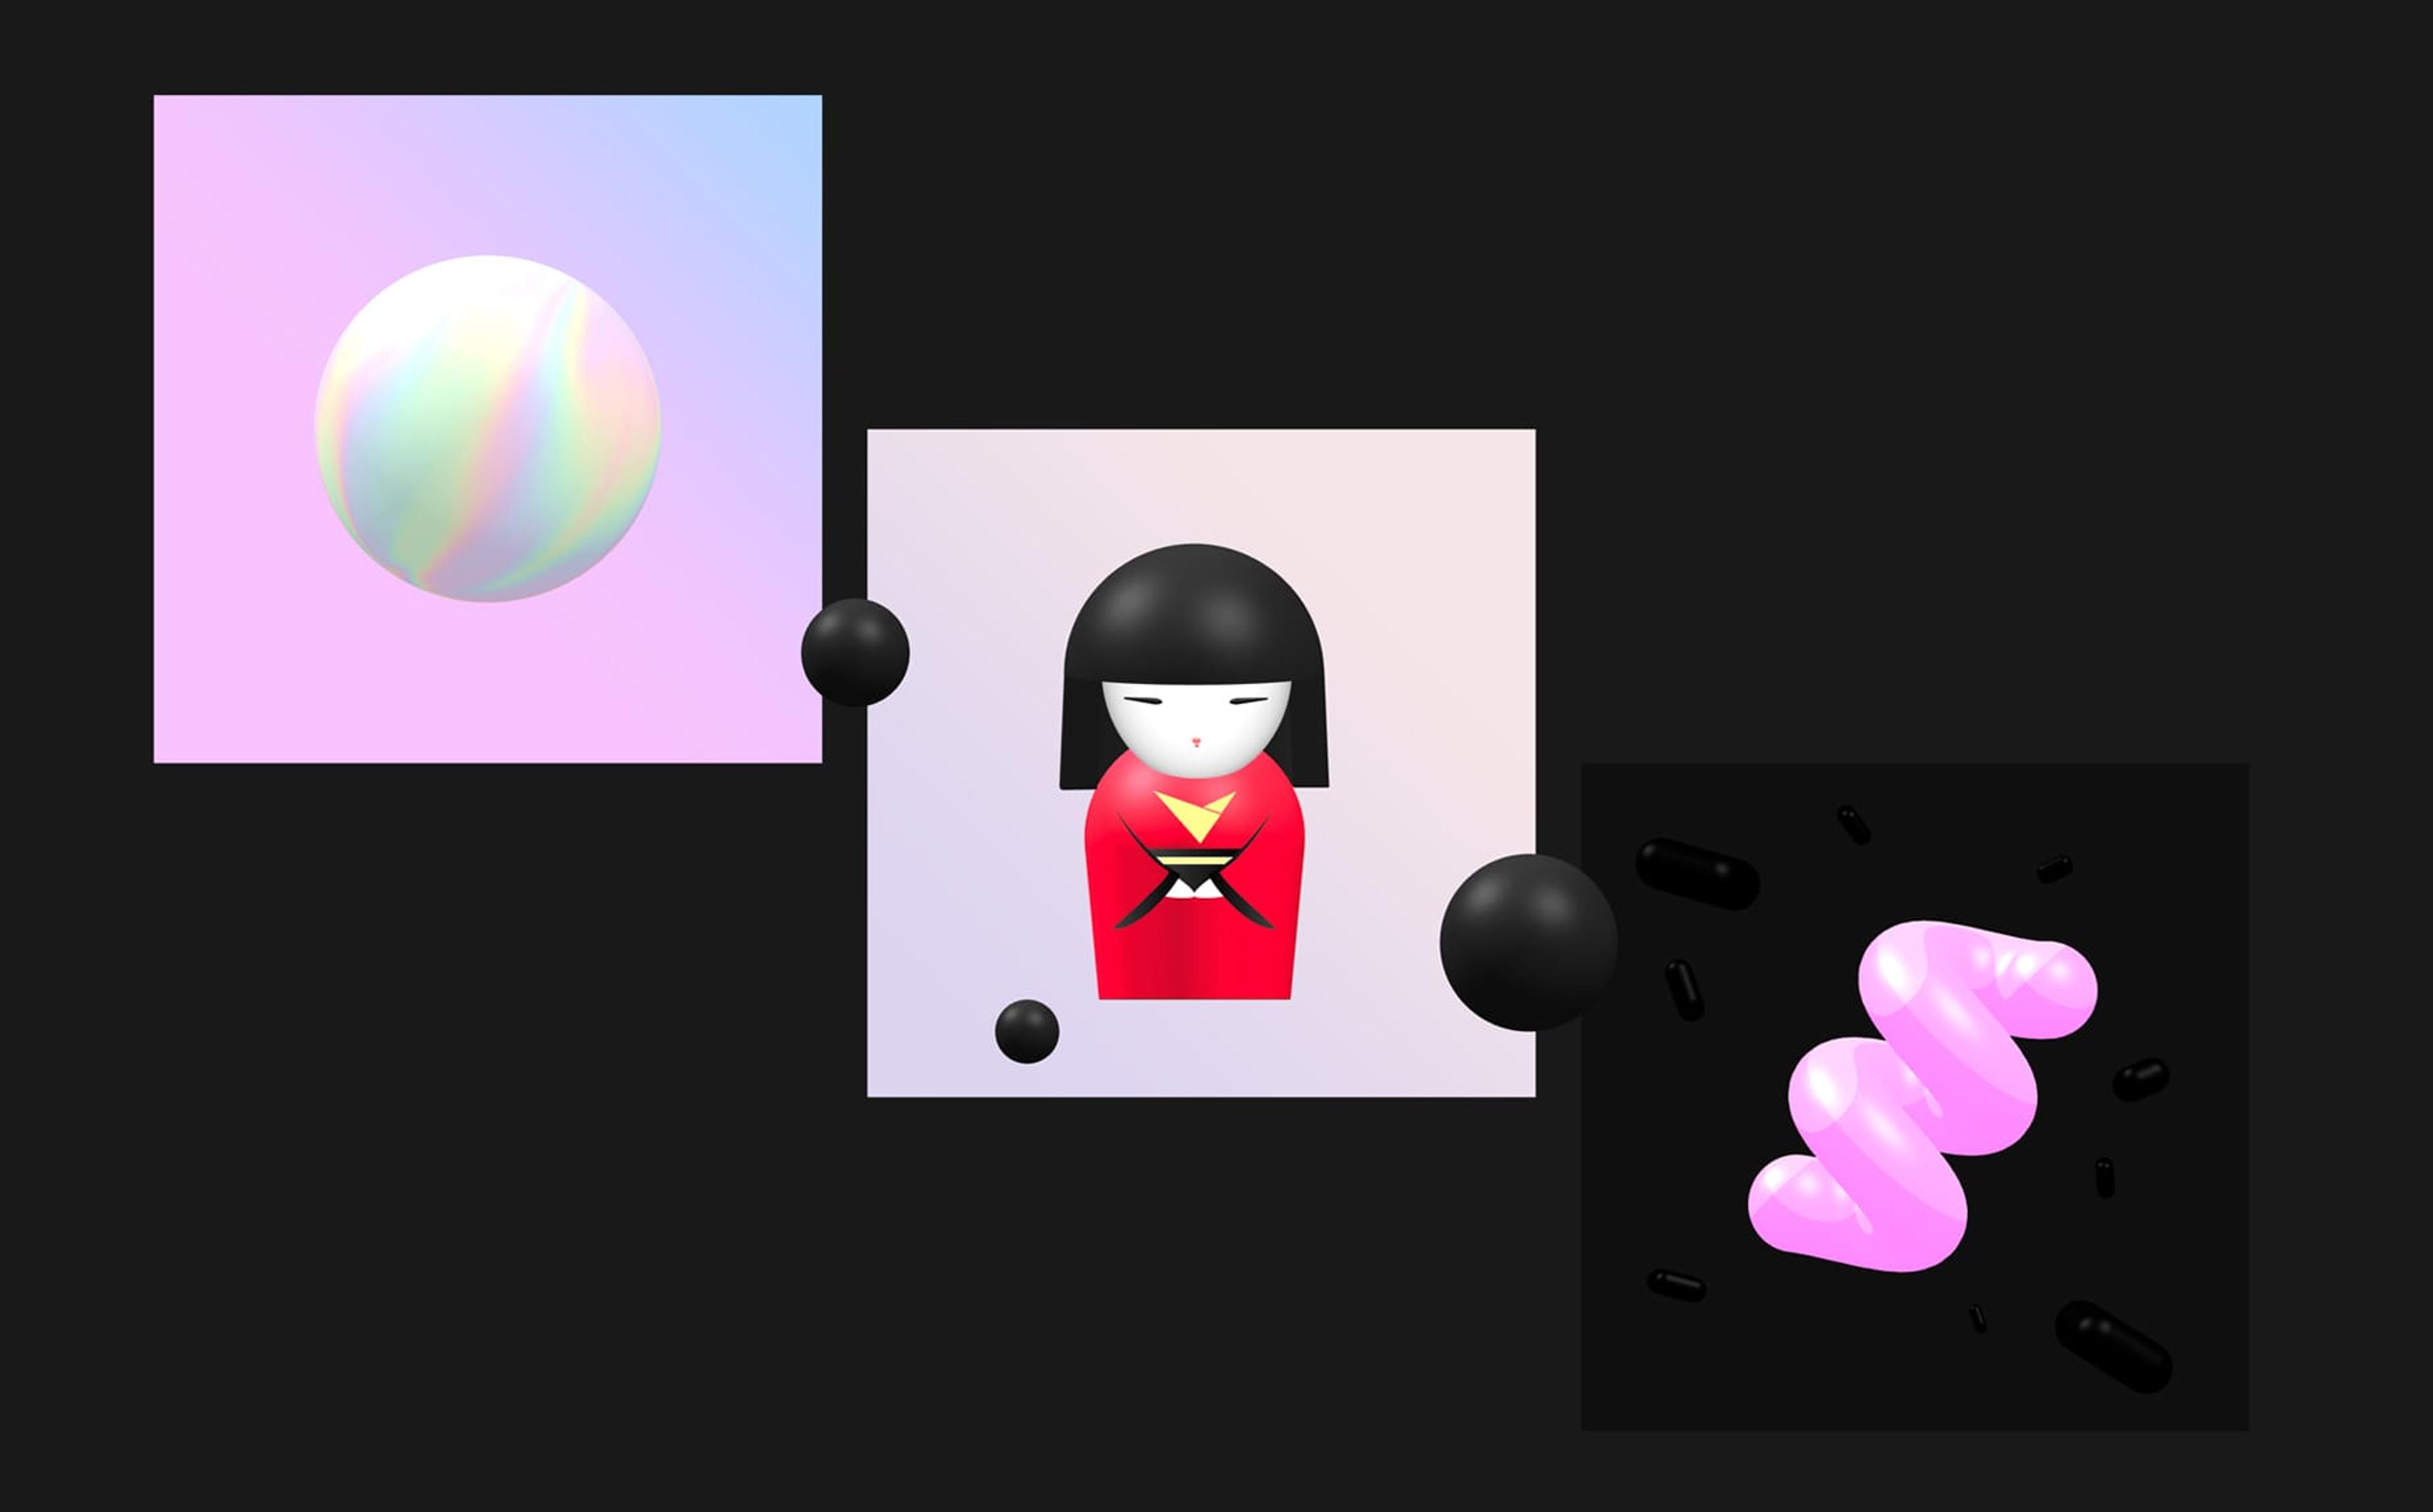
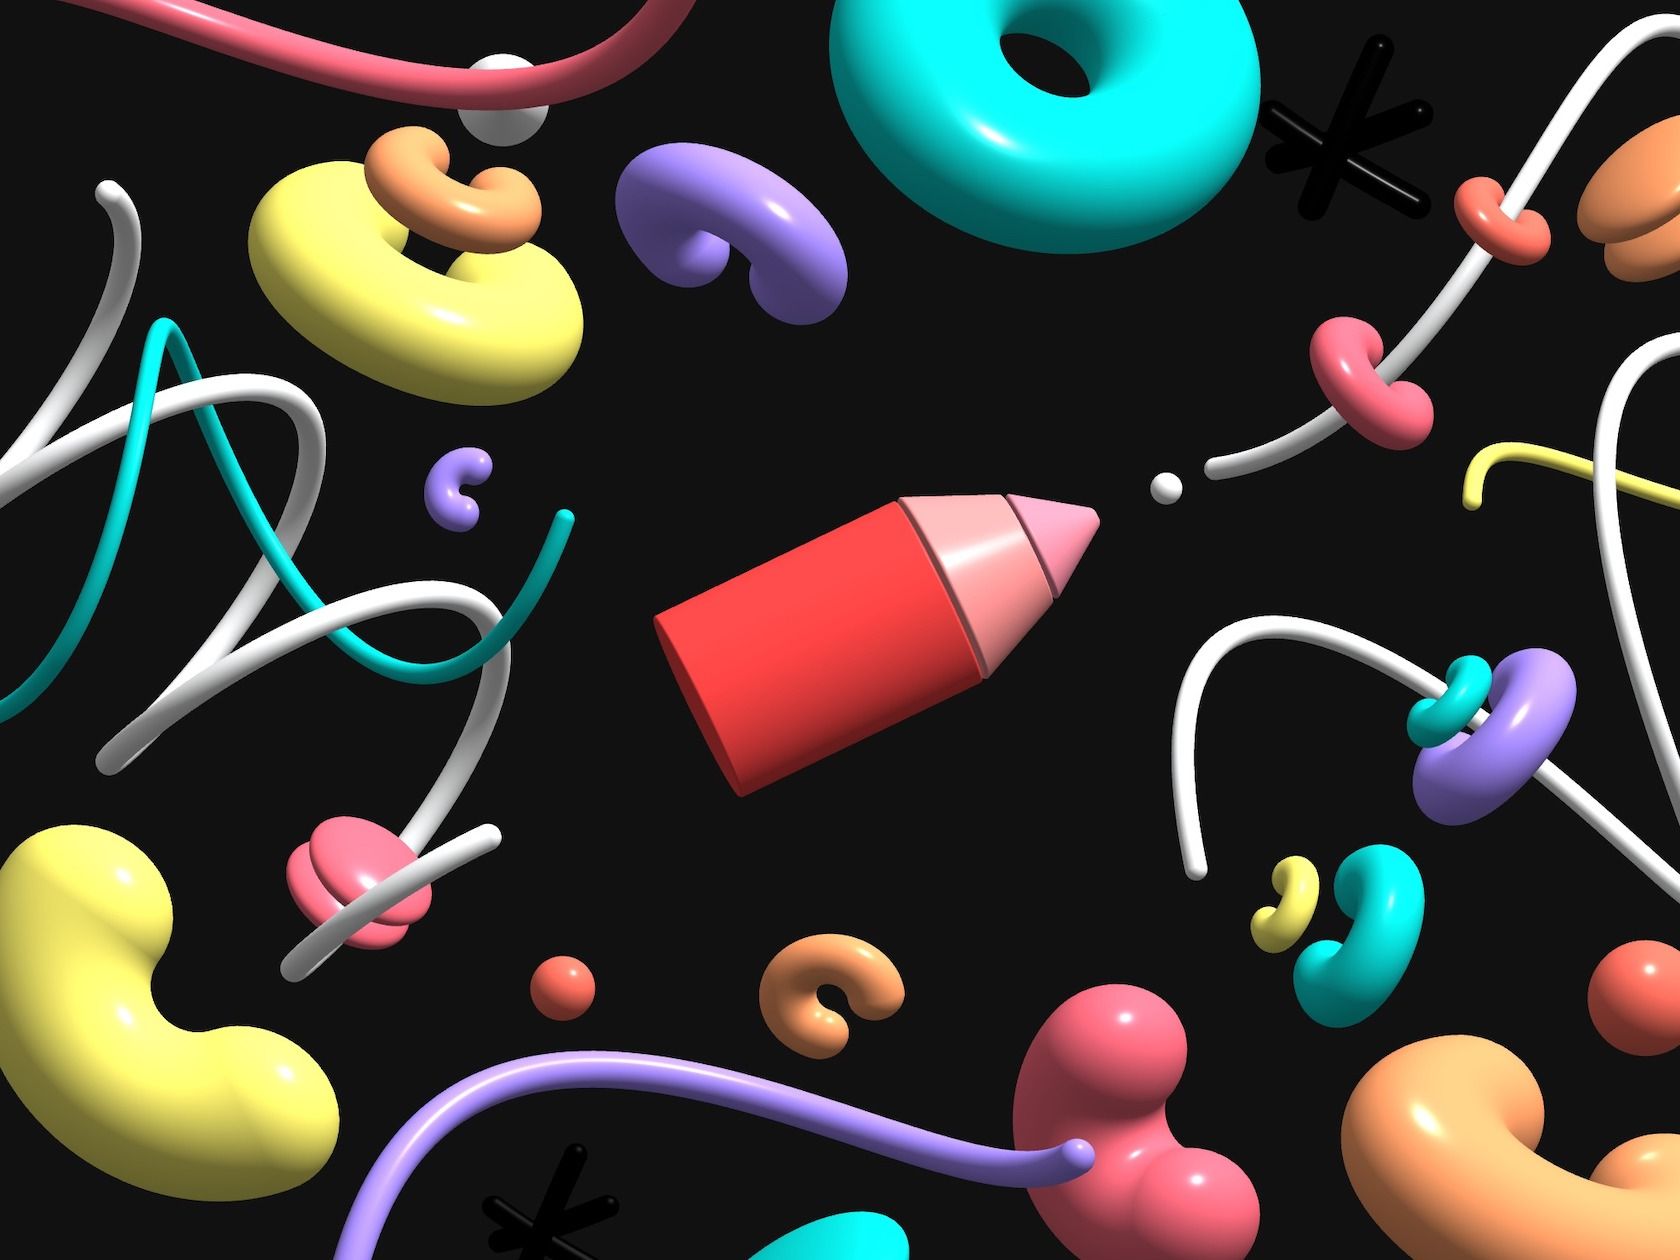 This is my first 3D artwork in which I played with materials, colors, and shapes.
Even if it seemed simple (not a “WOW” illustration), I didn’t want to limit my experiments to what is trendy at the moment. I just wanted to create something for myself, as an artist draws to express their feelings. Ok, well, maybe I’m exaggerating, but what drove me when I designed that artwork was just creativity, nothing more. I’m pretty sure that looking at it in a month, I’ll say to myself something like “How could I be so proud of that illustrationMouse up, down, hover,” and then I’ll be back to revisit it, trying to push my boundaries a bit more.
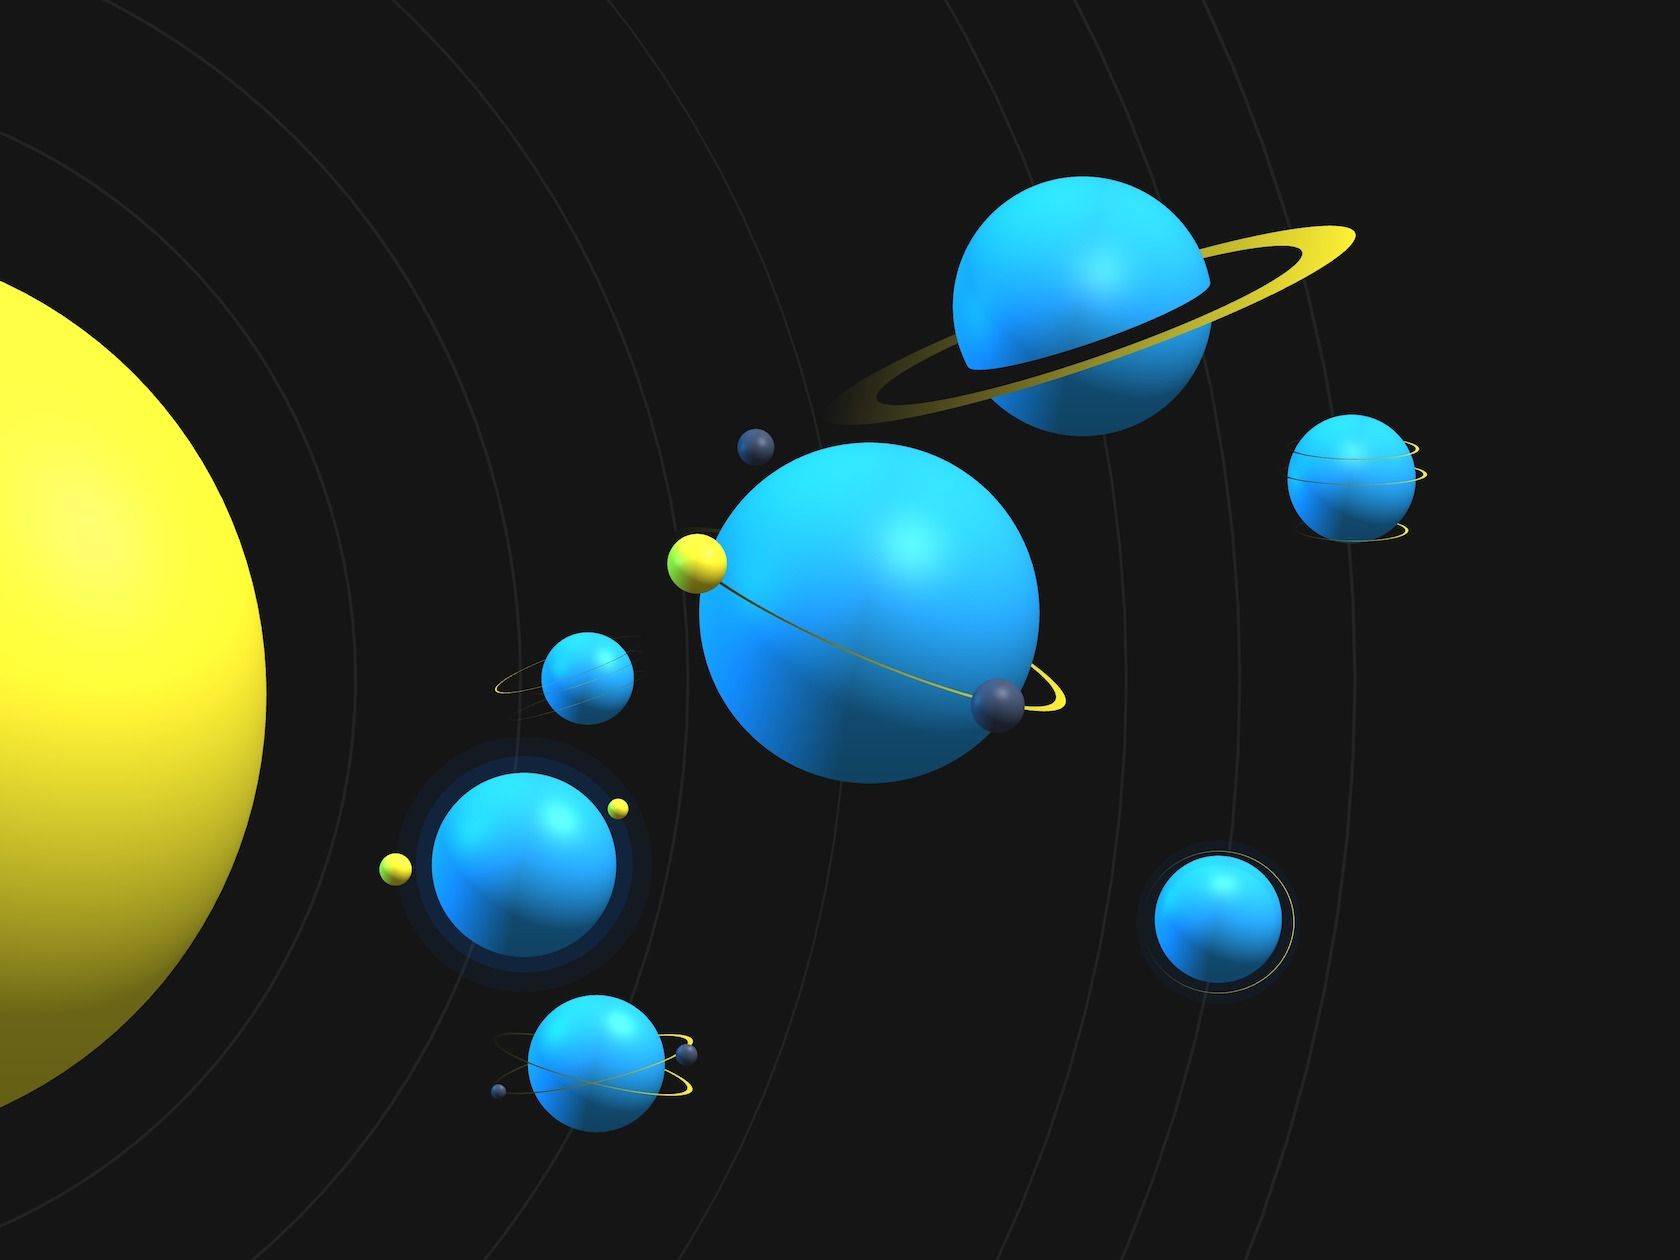 I’ve redesigned all the planets of the Nebulab website with Spline. In this illustration, I included them in the Solar System.
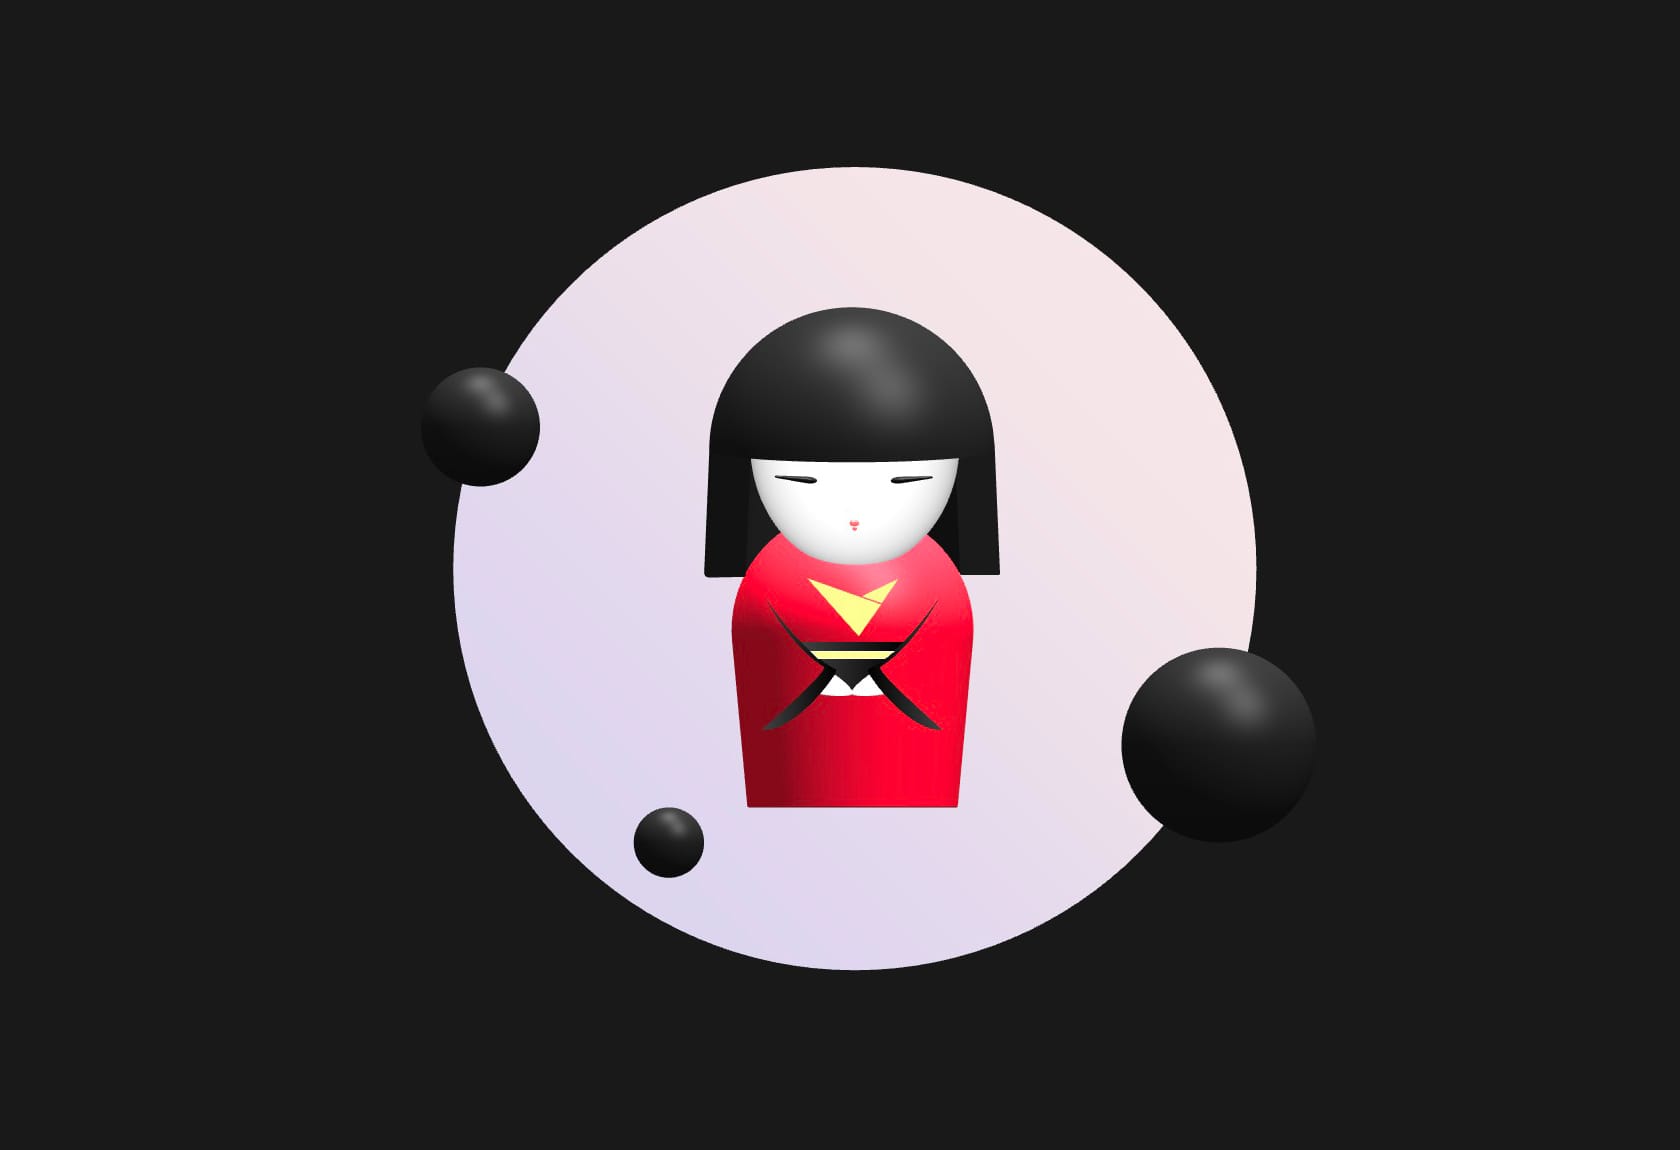 My first 3D character, a tribute for the running Olympic games.
How 3D design supports your workflow
Even if you’re not a 3D artist (and if you’re reading this article I suppose you aren’t) knowing how to create 3D objects or scenes can be very useful. You can create tailored mock-ups for a mobile app, for example, or adding some catchy objects that interact with the user pointer on your website.
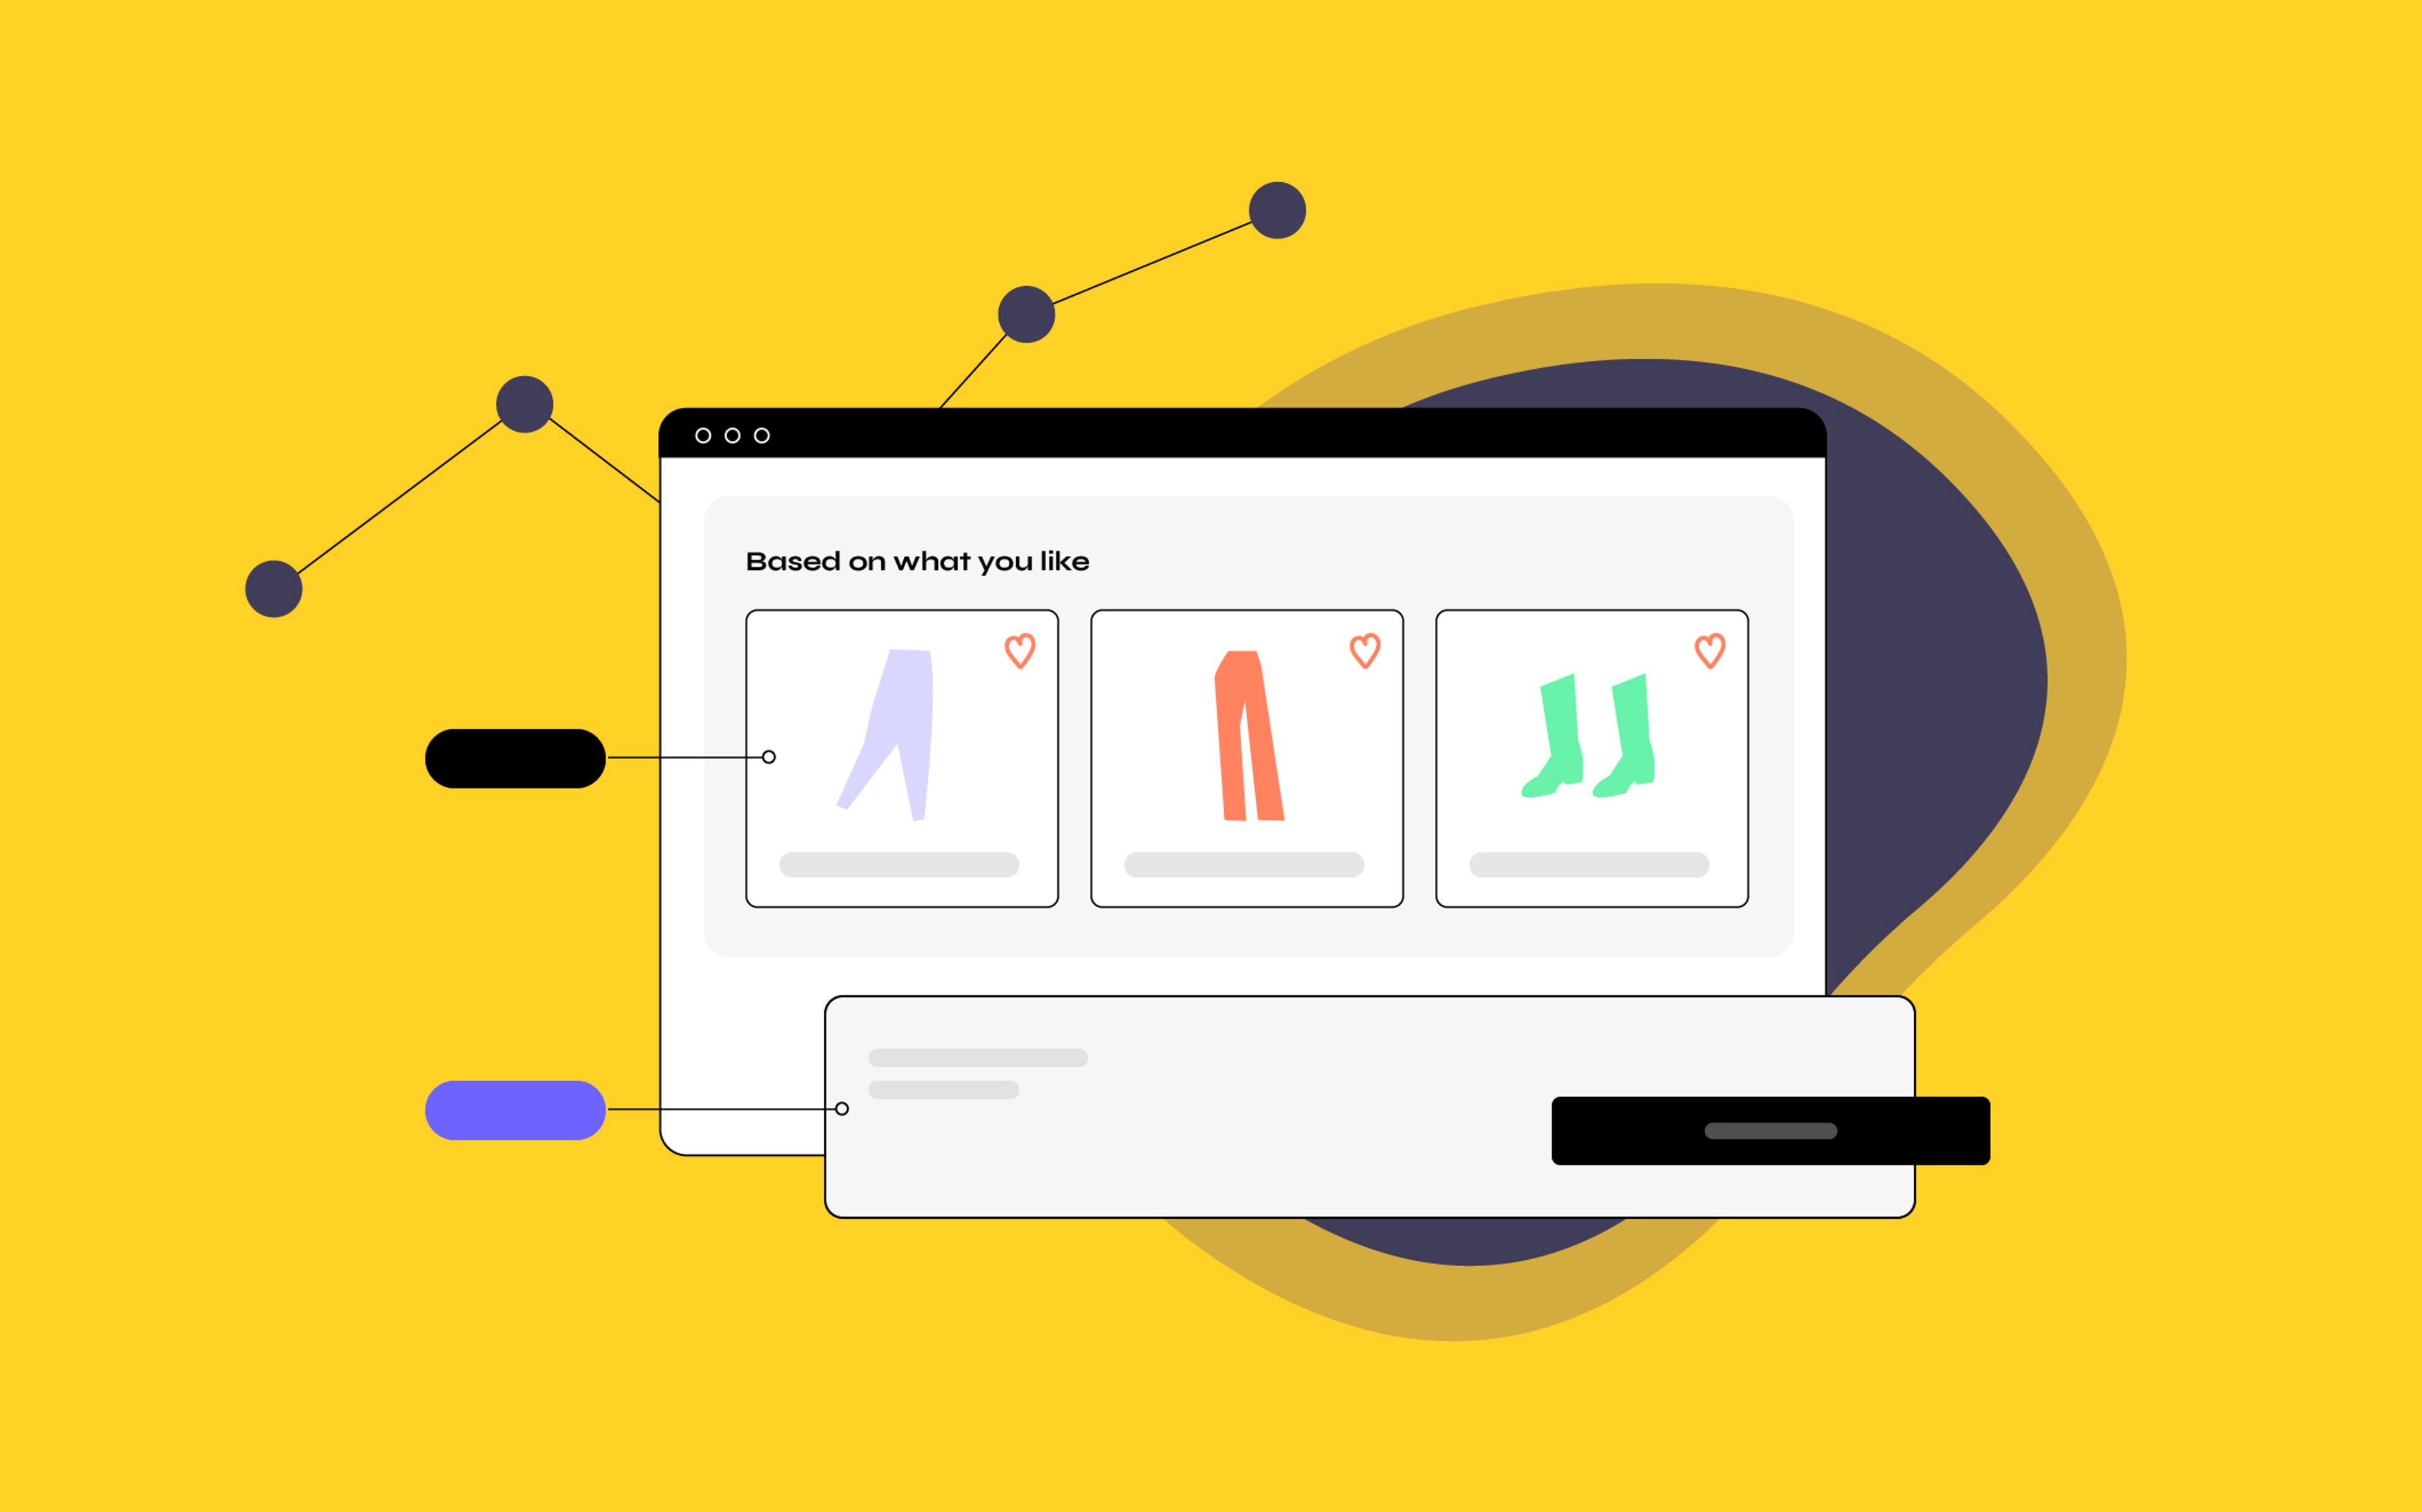
 I’ve tried a white version of the Blog hero with some 3D objects that interact with the pointer.
See the sample in action.
I’ve tried a white version of the Blog hero with some 3D objects that interact with the pointer.
See the sample in action.
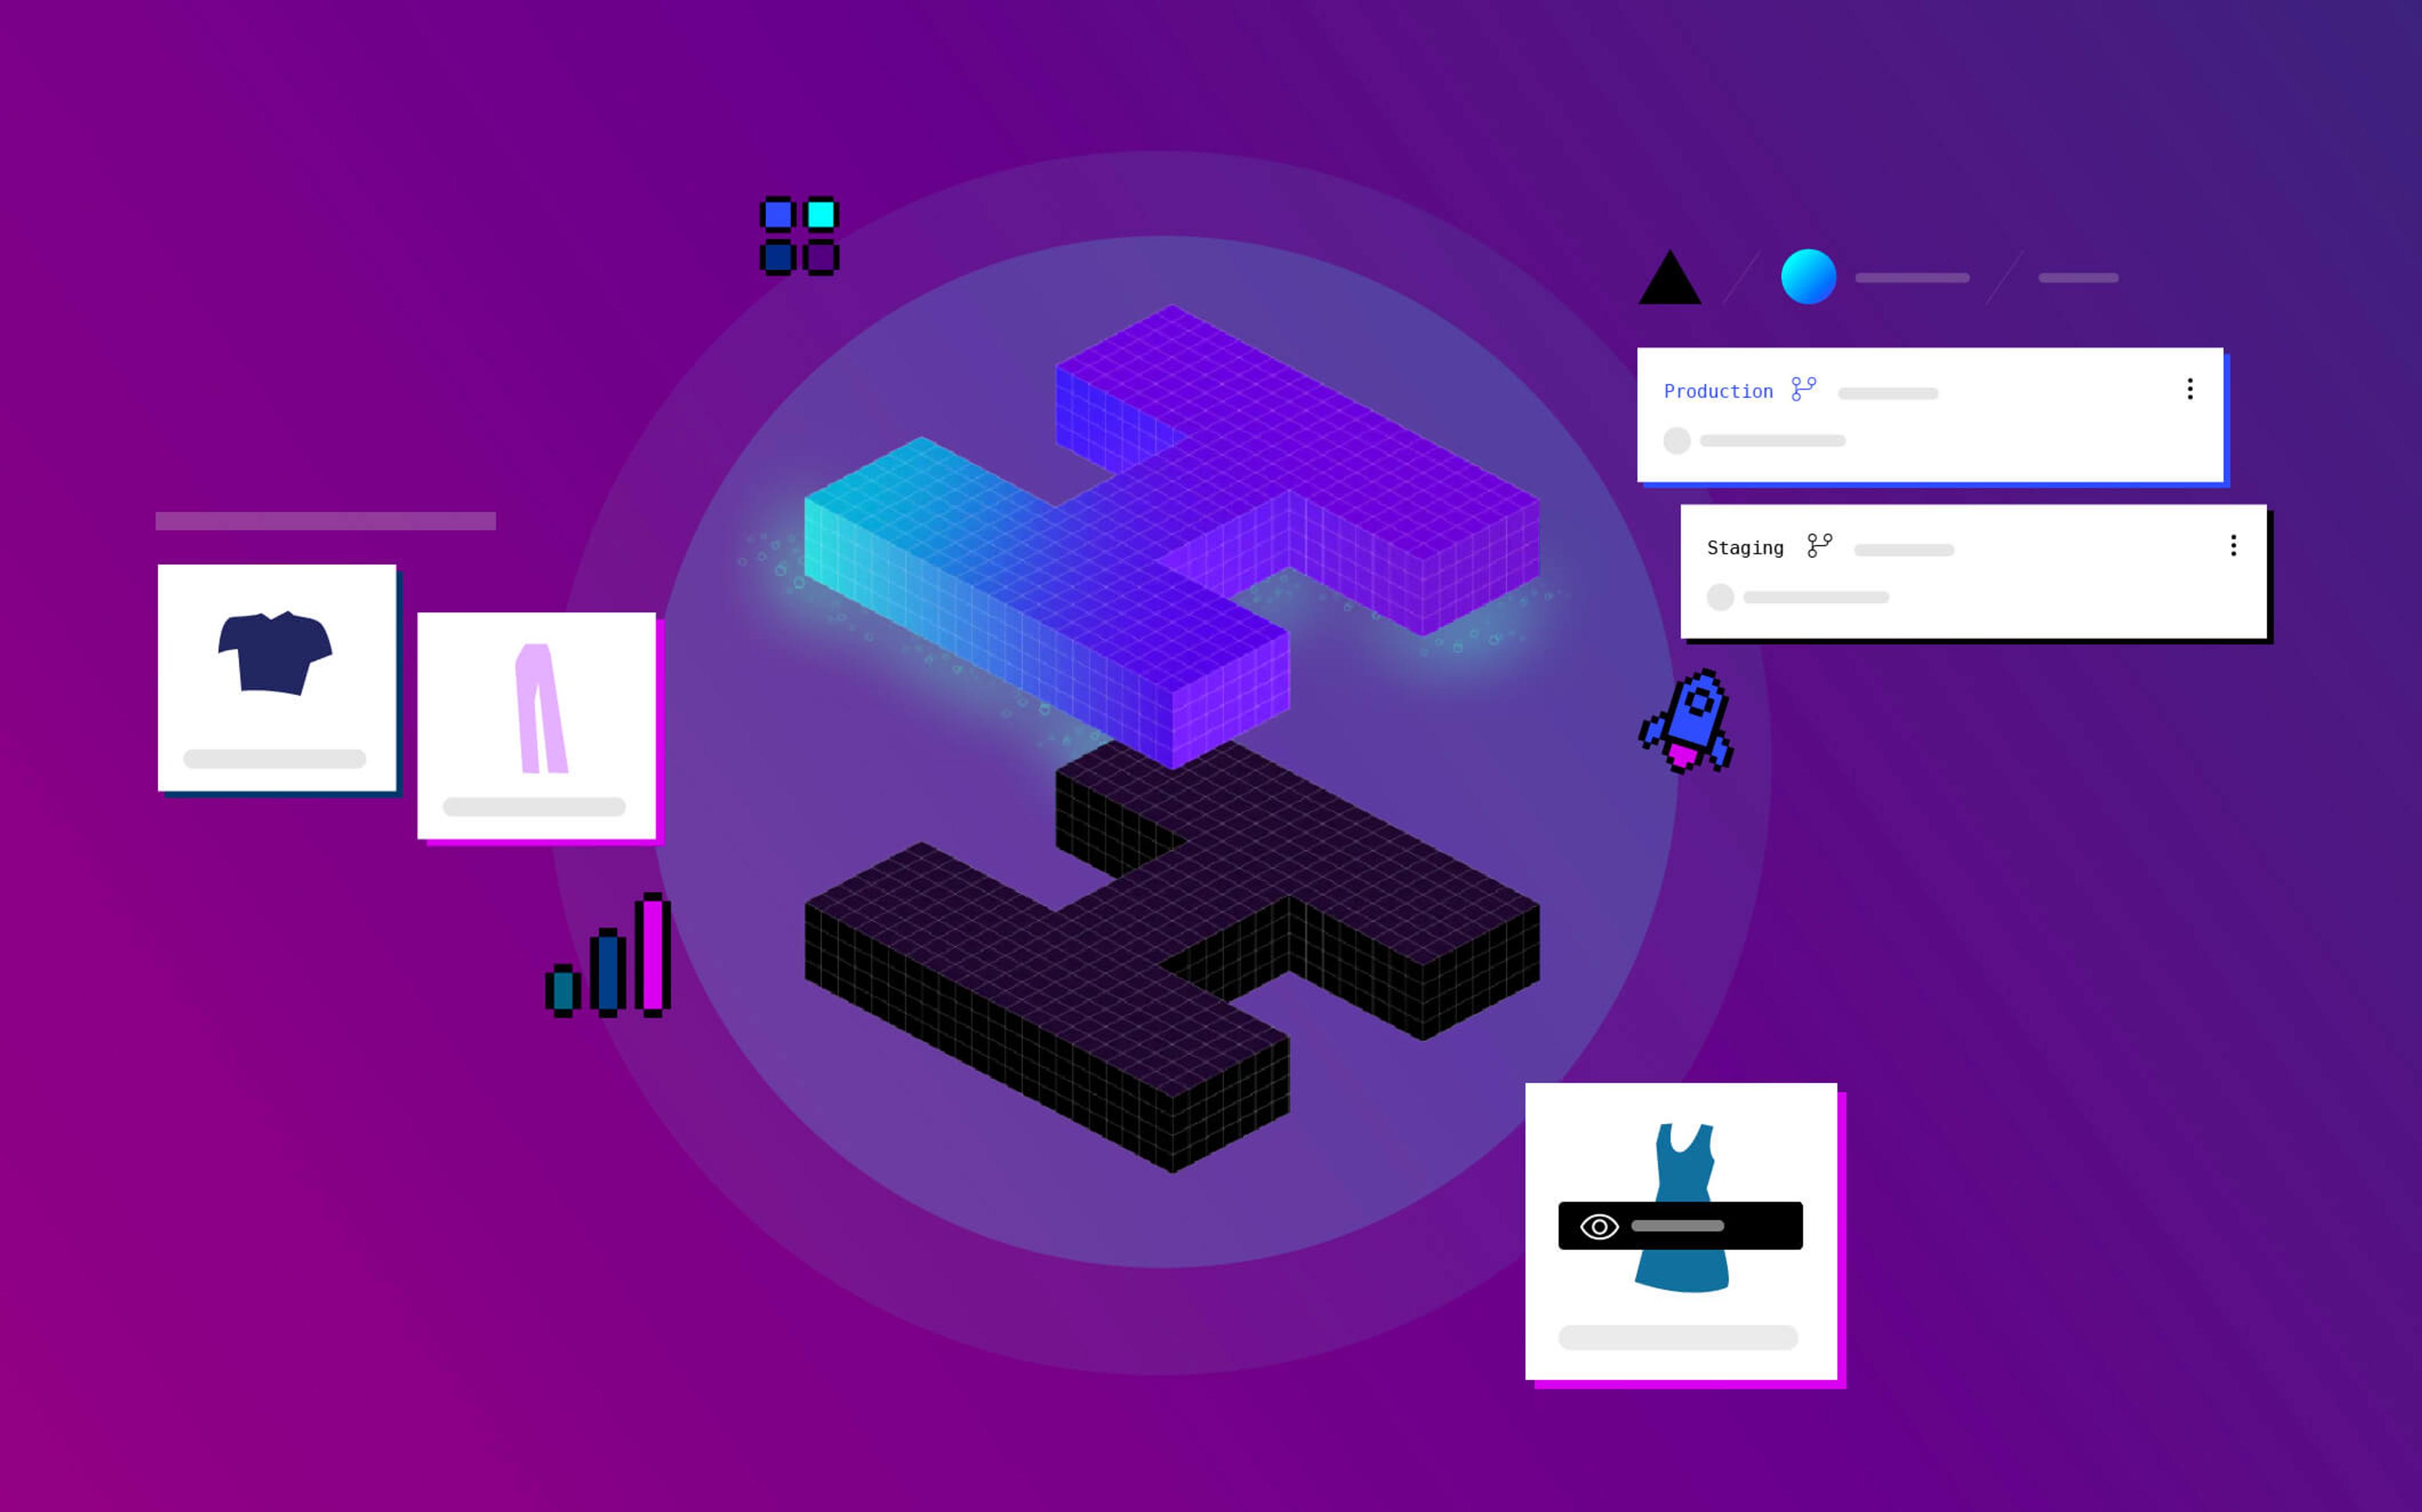
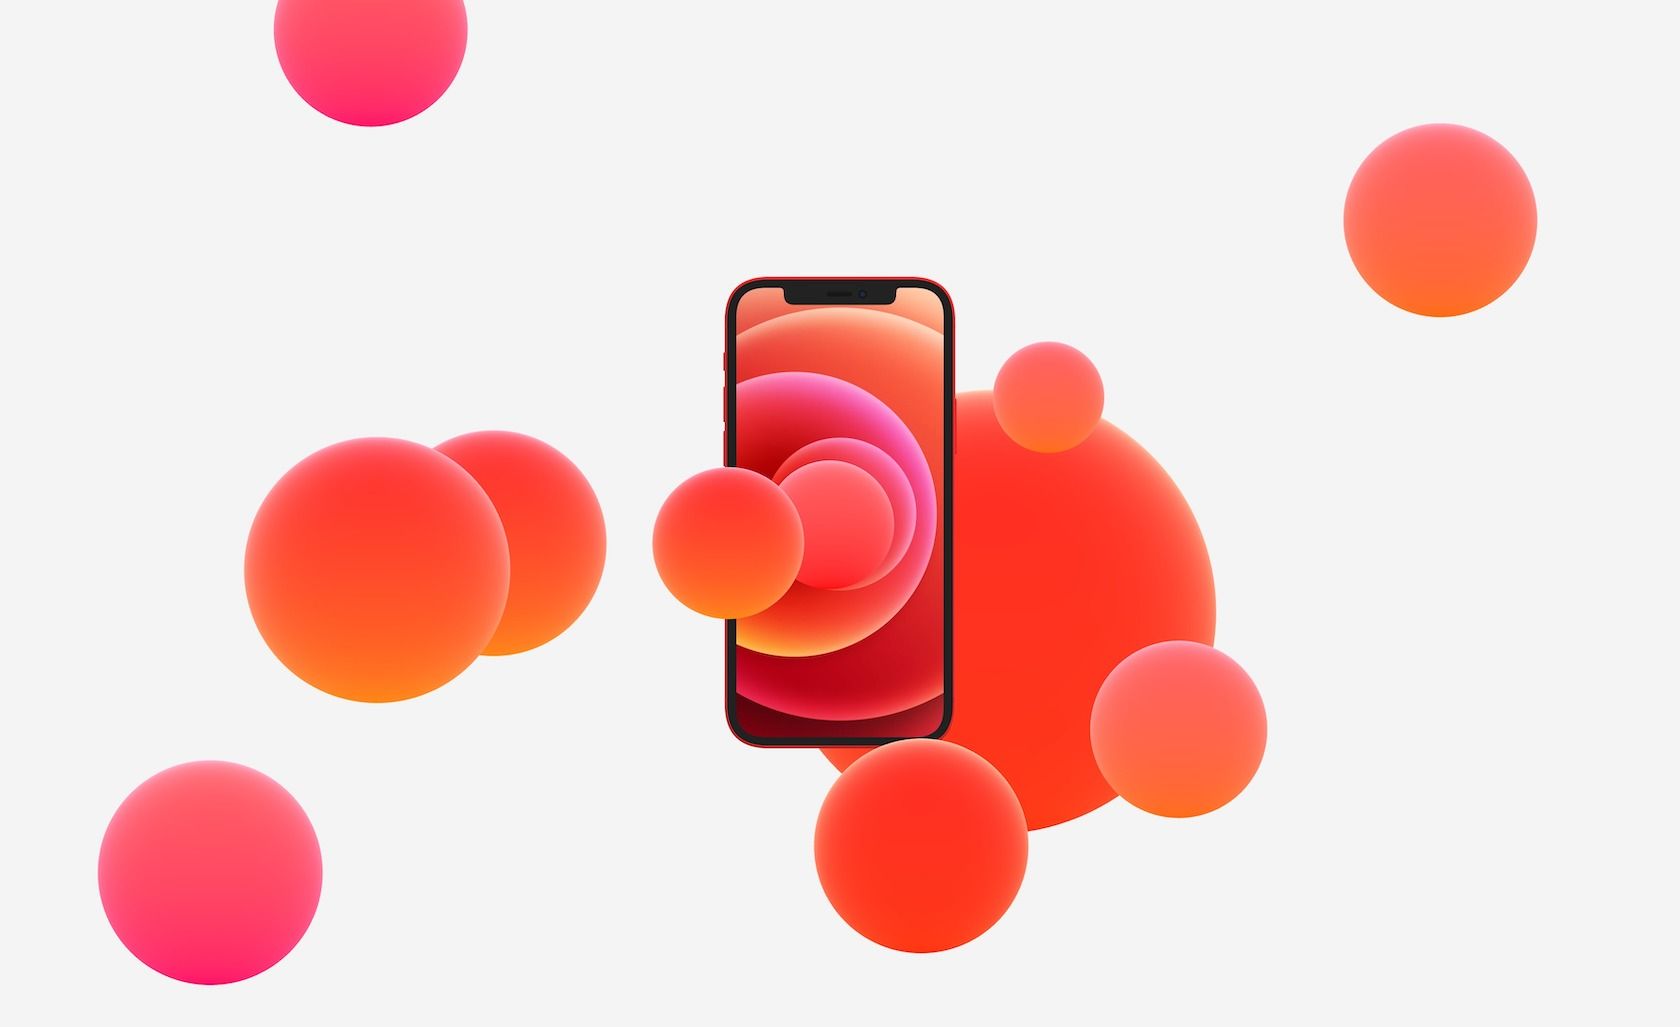
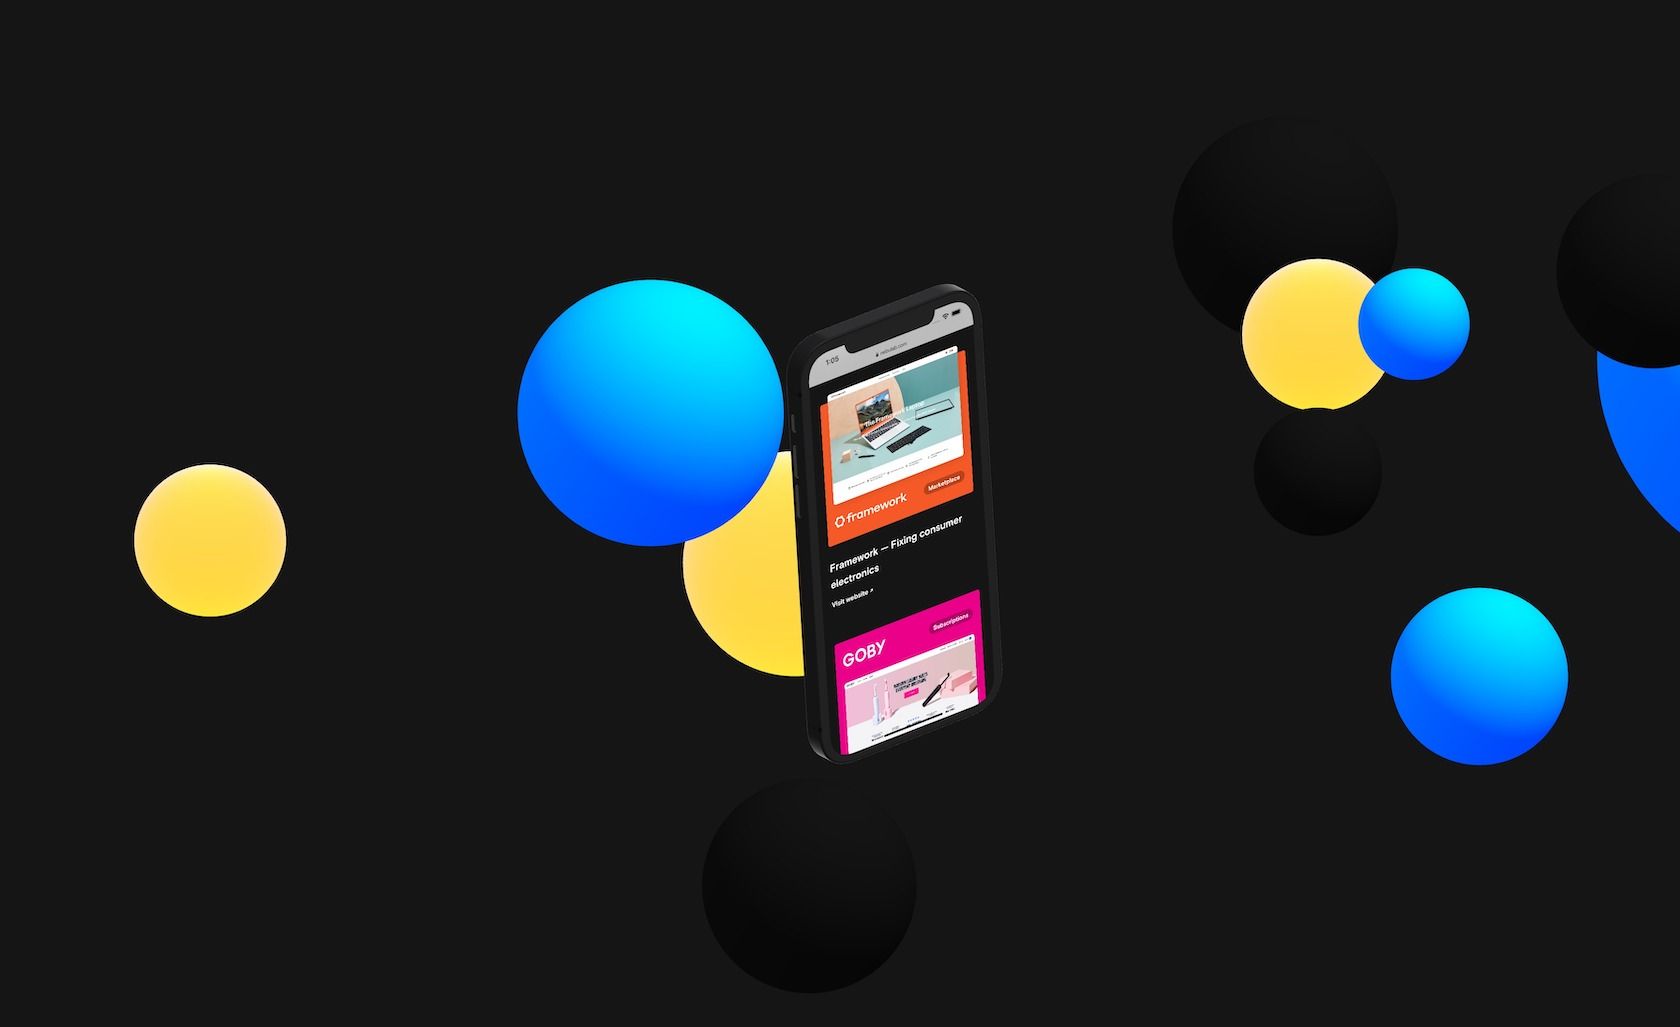
 You can even use this to show off a new website or mobile app, with a trendy minimalistic animation like this one.
Surely, there’re tons of mock-ups you can download and use but having the flexibility to create your own is extremely better, even in terms of marketing.
I’m happy to have spent some hours of my Investment Time learning Spline 3D! Truthfully, I’m still experimenting with it, but what I have done so far has given me an incentive to continue learning this modern, trendy tool and to go deeper into the 3D world.